

Grilling chicken breasts can be a rewarding experience when done right. Unfortunately, a lot of people get this wrong and end up with overcooked dry chicken. Whether you're new to the game or seeking to refine your grilling skills, grilling chicken breast is a necessary skill that should be practiced often. Let’s dive into the tips and techniques our team of experts uses to get juicy, flavorful, and perfectly cooked chicken breasts every time.
WHAT YOU'LL LOVE
- The two-zone setup is the technique that makes pellet-grilled chicken breasts work: Direct flame over the firebox at 450°F for searing, then the cooler right side to finish to temperature without burning — this is the same principle as a two-zone charcoal setup but dialed in on a pellet grill using the VDD damper pushed all the way left. It's the difference between a seared, juicy breast and a pale, steamed one.
- Pounding or slicing to even thickness solves the biggest chicken breast problem before the grill is even lit: A 10 oz chicken breast has a lobe that's nearly an inch thick and a tail that's a quarter inch — they cannot cook to the same temperature at the same time on a hot grill. Two minutes of prep work with a mallet or boning knife eliminates the problem entirely.
- GrillGrates over the firebox turn a pellet grill into a direct-flame grilling machine: The raised rails of GrillGrates concentrate heat and create the high-contact surface needed for grill marks and Maillard browning — without them, the pellet grill's indirect convection environment produces pale, oven-roasted-looking chicken rather than the caramelized, marked exterior this technique produces.
- Pulling at 155–160°F and resting produces juicier chicken than pulling at 165°F and serving immediately: Carryover cooking raises the internal temperature several degrees during the rest period, finishing the chicken at safe temperature while the rest allows the juices to redistribute. Pulling at exactly 165°F and cutting immediately is the recipe for dry chicken.
Grilling Chicken Breasts on Pellet Grills
Tom Jackson
Rated 5.0 stars by 7 users
Category
chicken
Cuisine
tips & techniques
Servings
4
Prep Time
30 minutes
Cook Time
30 minutes
Calories
260
This is how to grill chicken breasts on a pellet grill. If you're new to the pellet grill game, knowing how to grill chicken is essential, whether you're cooking for the family or feeding a crowd from your outdoor kitchen. Chef Tom will share his favorite tips & techniques and even the most seasoned veterans will find it helpful. This is one you don't want to skip!
Ingredients
-
Chicken Breasts
-
Yoder Smokers Chicken Rub
-
Cattleman’s Grill Mexicano Seasoning
Directions
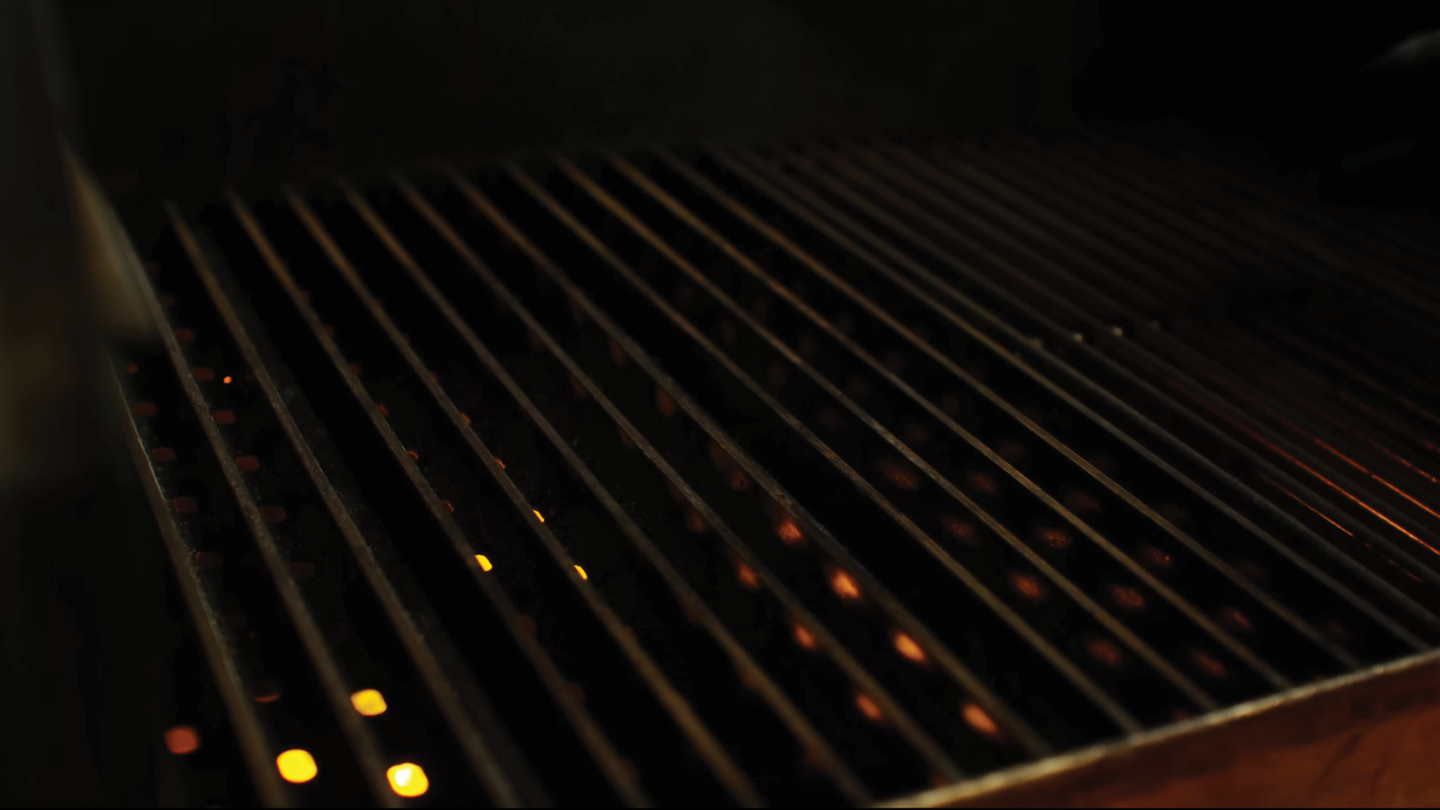
Preheat your Yoder smokers YS640s Pellet Grill to 450ºF, set up for direct grilling (diffuser removed) with GrillGrates installed over the fire box, on the left side of the grill. Push the damper in all the way to concentrate the heat on the left side of the grill. This will create a hotter and cooler zone on either side of the grill.
Pound or slice your chicken breasts to even out the thickness.
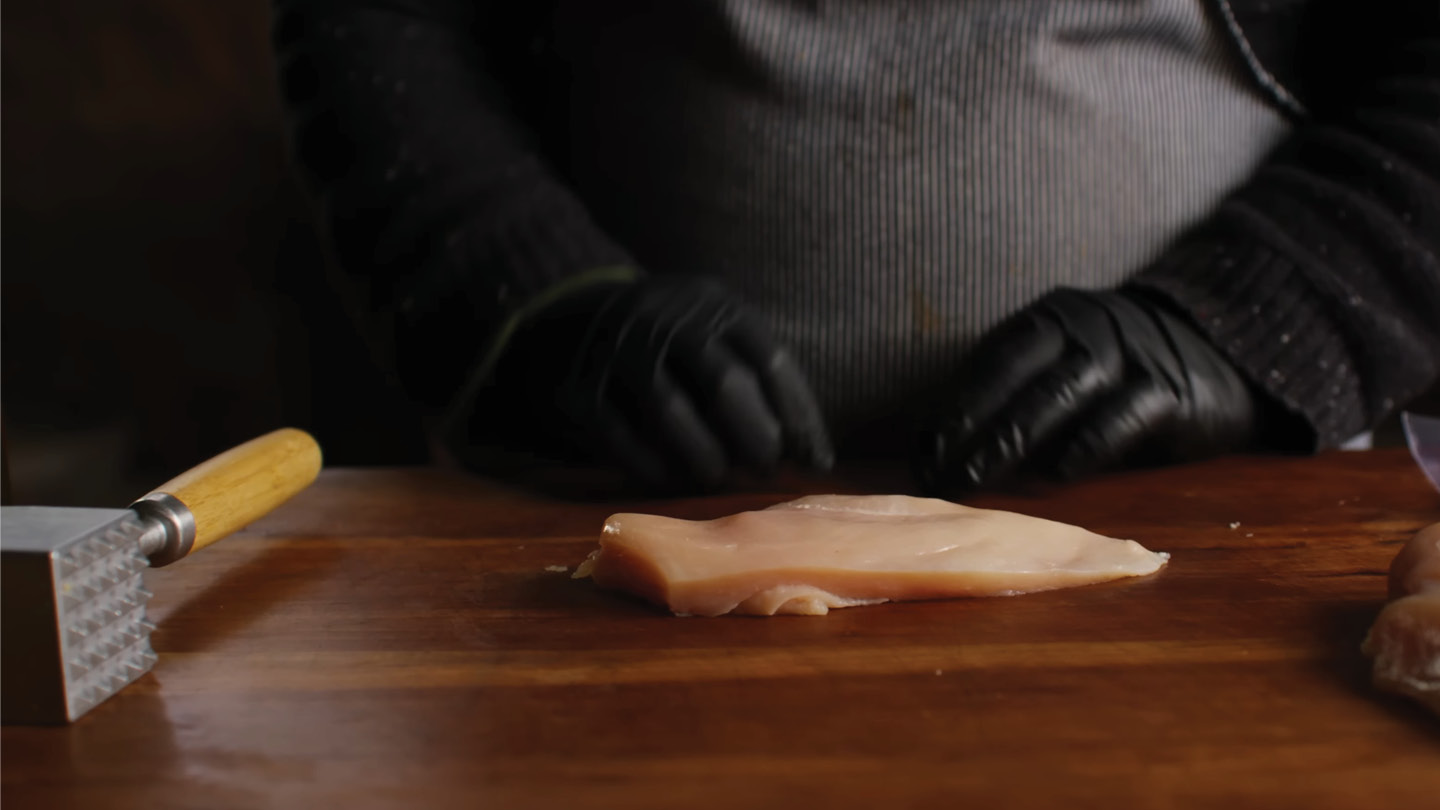
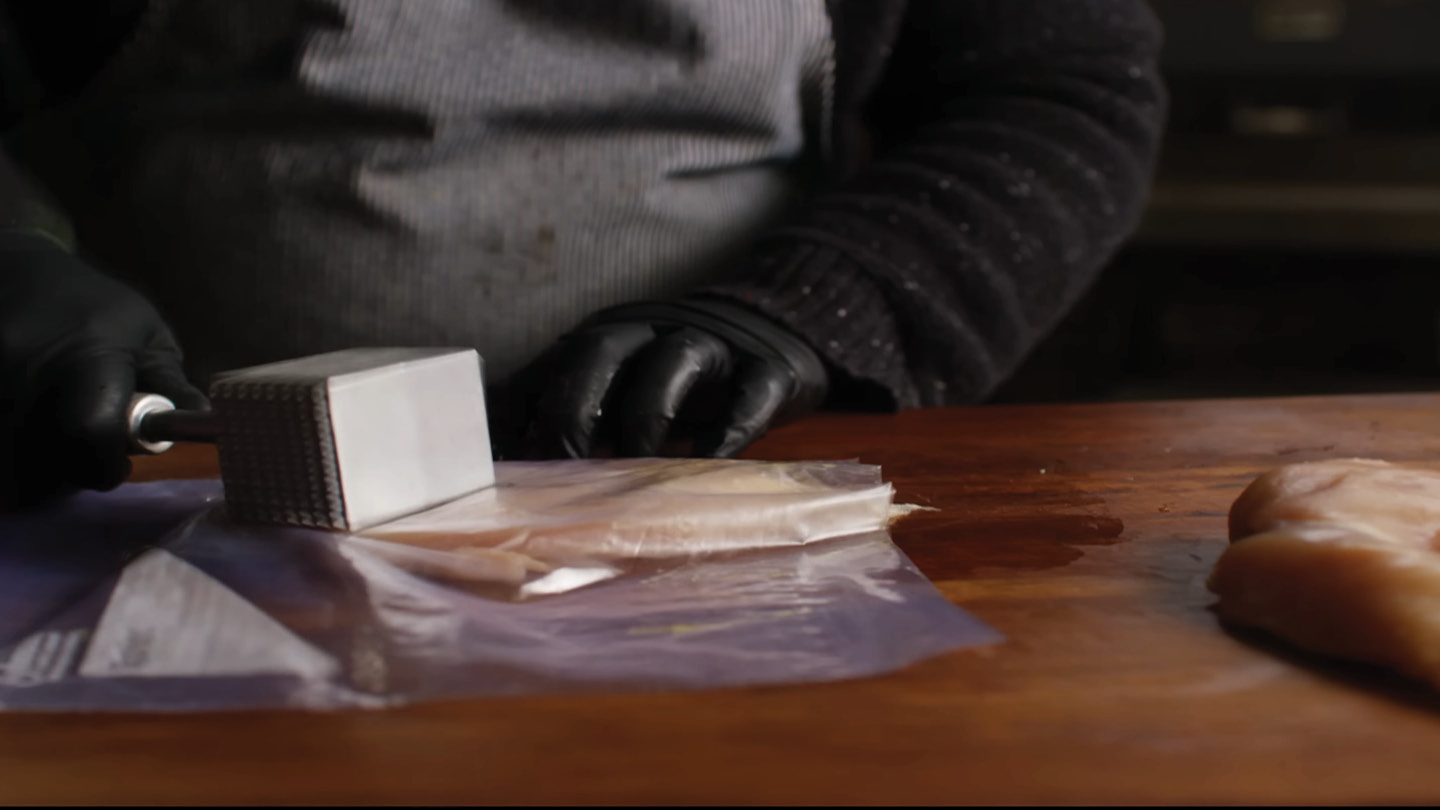
To pound the breasts, place a small amount of oil on your cutting board. Place the breast on the oil, then place a little oil on top of the breast. This will help prevent tearing while you pound. Place a sheet of plastic (gallon zip top bag) over the chicken, then begin pounding the thick end of the breast. Don’t just hammer straight down, but push the meat mallet in an outward direction while pounding to push spread the meat out into a uniform thickness.
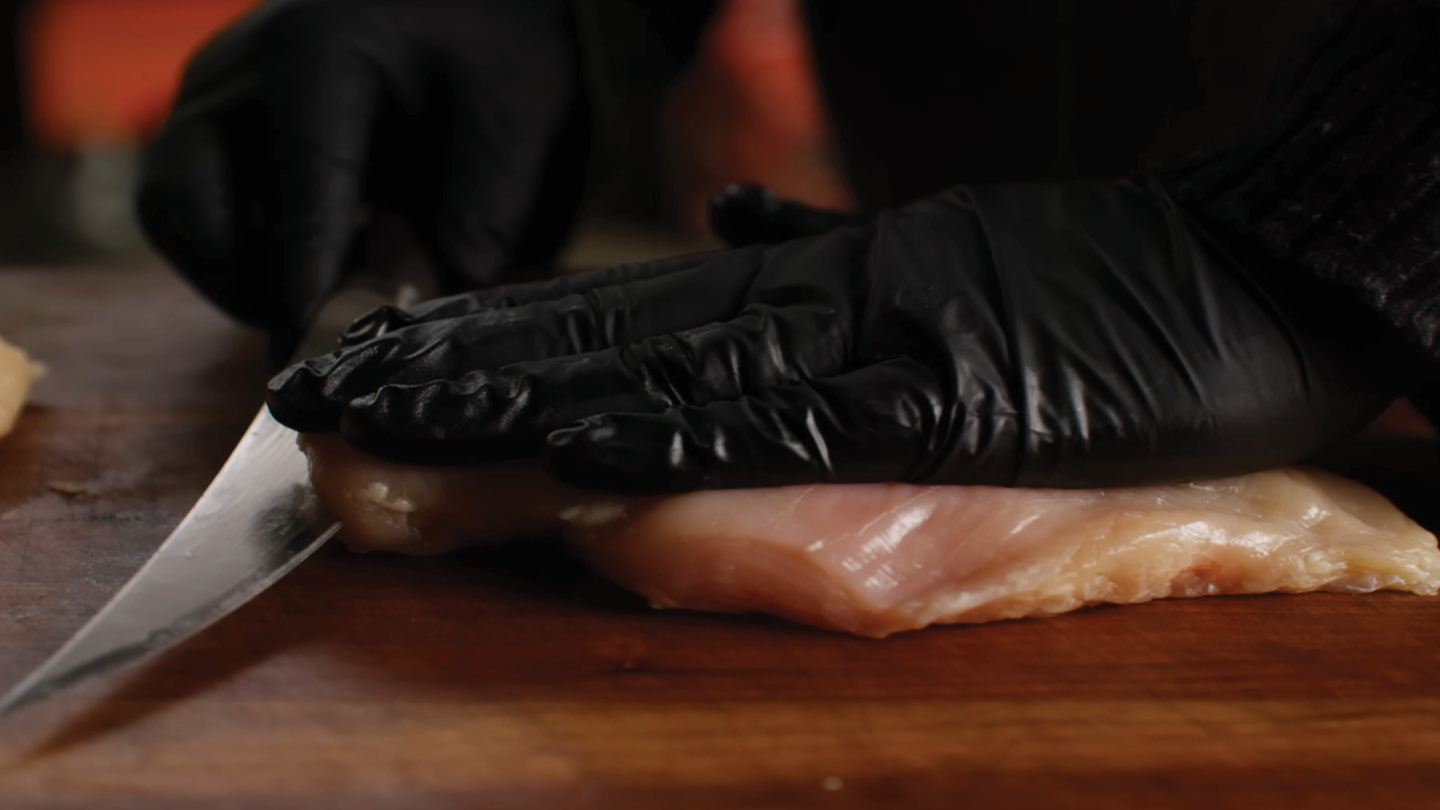
To slice the breasts, lay out the chicken on the cutting board. Press down with the palm of your hand. Using a sharp boning knife, begin slicing horizontally from the thick end toward the thin end, keeping your blade in the center of the breast until divided into two pieces.
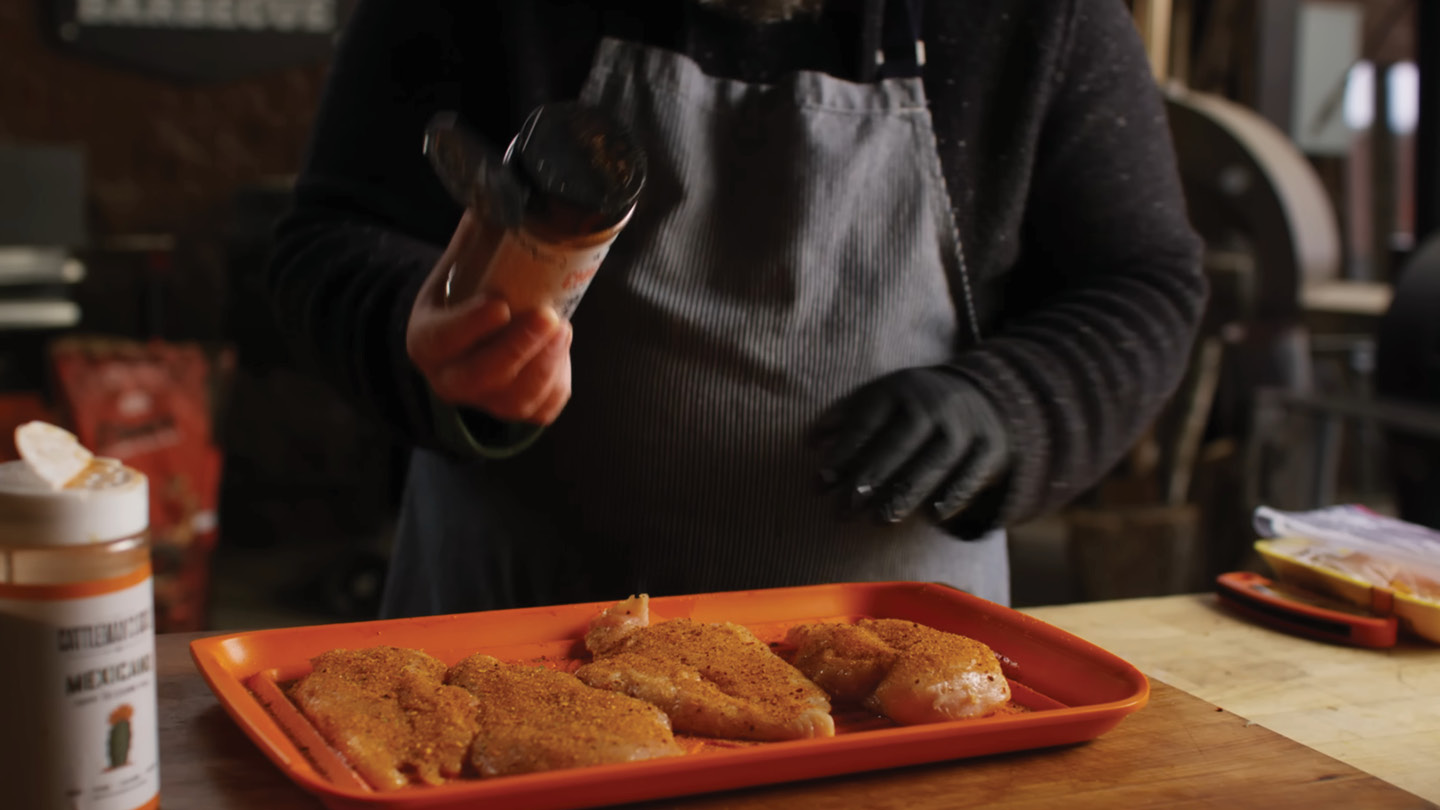
To season the breasts, drizzle the breasts with a little oil and rub all over the surface to act as a binder. Sprinkle your favorite seasoning evenly, coating both sides. Let rest until the seasoning appears wet on the surface, about five minutes.
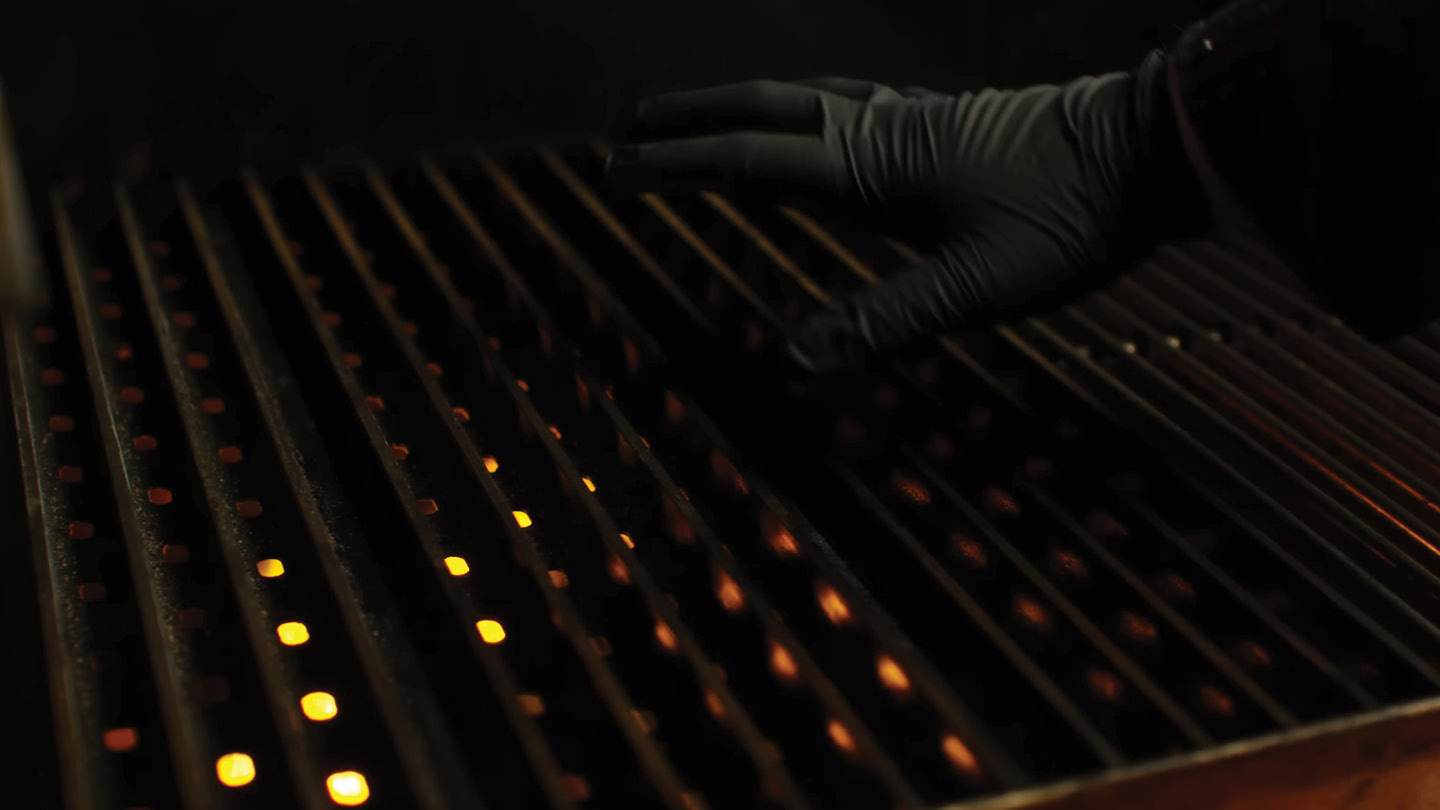
Make sure your GrillGrates are brushed clean before grilling the chicken. You may also coat the grates with a thin layer of oil or spray fat.
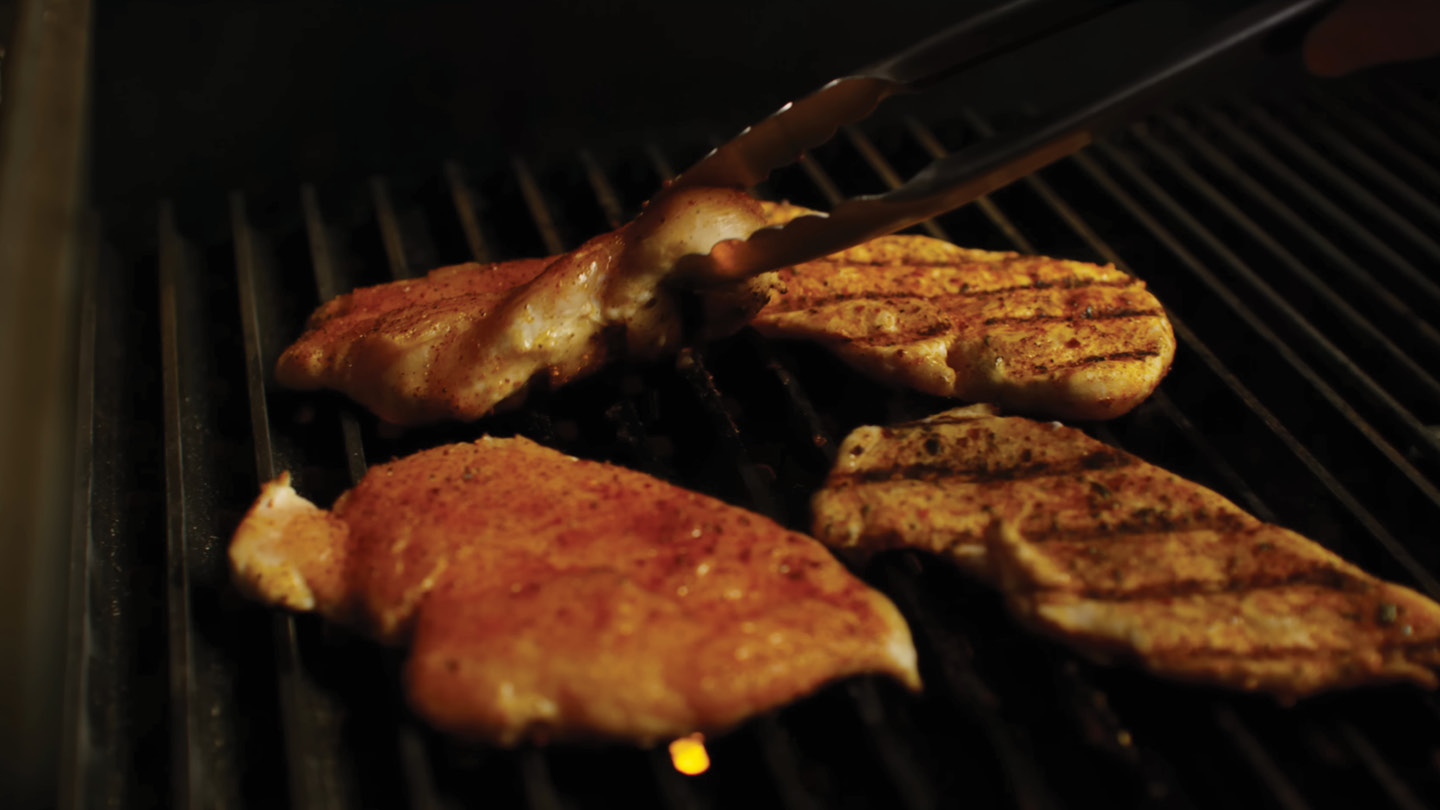
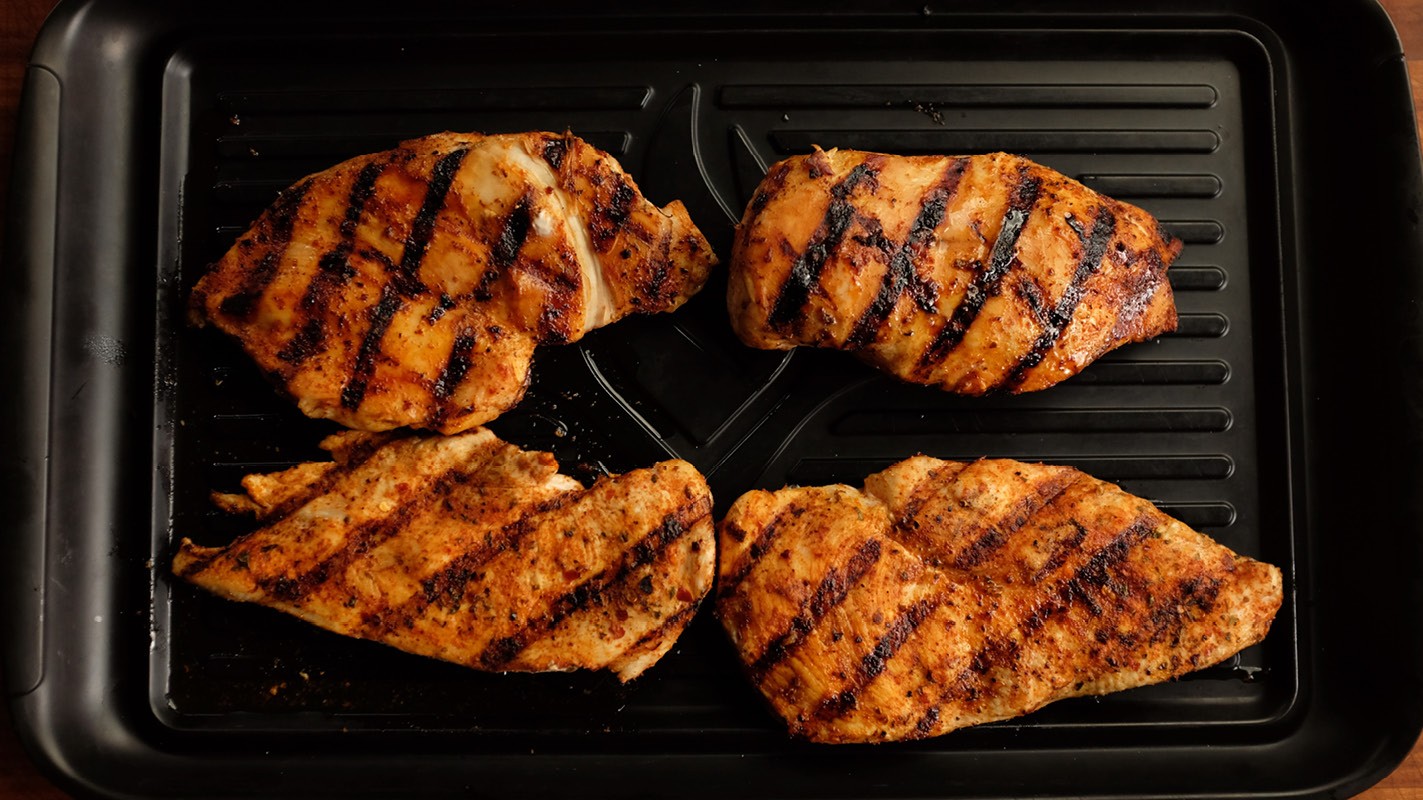
Place the chicken breasts on the GrillGrates, directly over the flame. Cook until the chicken releases on its own from the grates. Flip and cook to form grill marks. Flip again and rotate to form crosshatch grill marks. Flip one last time. When the chicken is nicely browned, move to the cooler side of the grill and continue cooking until the internal temperature reaches 155ºF-160ºF. Remove from the grill and rest for a few minutes before slicing.
Recipe Note
Recipe FAQ
Why pound or slice chicken breasts before grilling?
A whole chicken breast has significant thickness variation between the lobe and the thin tail end. On a hot grill, the thin end reaches 165°F before the thick end reaches 140°F — the result is one end overcooked and dry before the other is safe. Pounding or butterflying to an even thickness of approximately ½ inch solves this entirely, producing a breast that reaches target temperature uniformly across its entire surface. It also reduces cook time from 15–20 minutes to 6–8 minutes, which means less time for moisture to escape.
How do I set up the Yoder Smokers YS640s for direct-flame grilling?
Remove the diffuser plate from under the main grates on the left side of the grill. Install GrillGrates directly over the firebox opening on the left side. Push the Variable Displacement Dampener (VDD) all the way in to concentrate airflow and heat on the left side. Set the grill temperature to 450°F. This creates a high-heat direct-flame zone on the left and a lower-heat indirect zone on the right — the same two-zone setup used for searing and finishing steaks, chicken, and other proteins.
When should I flip the chicken — and how many times?
Directions Step 7 specifies a four-flip sequence: place the chicken and wait for it to release on its own, flip to form grill marks, flip again and rotate 90° to form crosshatch marks, then flip one final time. The key is the first flip — the chicken will stick to the GrillGrates until the surface has seared and released naturally. Forcing a flip before this point tears the surface. Once the chicken is well-marked on both sides, move it to the cooler right side of the grill to finish to temperature without further charring.
Why pull at 155–160°F instead of the USDA-recommended 165°F?
USDA's 165°F recommendation is for an instant kill at that temperature. Food safety is also achieved by holding meat at lower temperatures for longer — chicken held at 155°F for even a few seconds is safe. The key is that carryover cooking continues to raise the internal temperature after the chicken leaves the grill. Pulling at 155–160°F and resting for 3–5 minutes allows the chicken to reach a safe internal temperature while retaining more moisture than pulling at 165°F and serving immediately. Always use an instant-read thermometer to verify.
Can I use a different seasoning besides Yoder Smokers Chicken Rub or Cattleman's Grill Mexicano?
Yes — this technique works with any seasoning. The rub choice affects flavor only, not the cooking process. The key seasoning step is letting the rub rest on the oiled breast until it appears wet on the surface (about 5 minutes) before grilling — this short rest allows the seasoning to begin adhering and slightly dissolving into the oil, producing better bark development on the grill than seasoning applied immediately before cooking.
Can I make this indoors?
2 out of 5 — Can be done inside, loses key flavor. A cast iron grill pan or heavy skillet over high heat will sear a pounded chicken breast, but you lose the GrillGrate crosshatch marks, the two-zone temperature management, and the faint pellet smoke character. The pounding and slicing technique and the pull-temperature guidance transfer fully to indoor cooking and are worth applying regardless of equipment.
Recipe Highlights
Oil the cutting board and the breast before pounding — not just the breast: Directions Step 3 specifies putting oil on the cutting board first, then the breast, then more oil on top. The oil on the board prevents the breast from skidding during pounding; the oil on top lubricates the plastic wrap and helps the mallet push the meat outward rather than just compressing it downward. Pounding dry produces torn, ragged edges rather than a smooth, even thickness.
Push the mallet outward, not just down: Directions Step 3 specifies pushing the mallet in an outward direction while pounding — not just hammering straight down. A vertical strike compresses the meat; an outward-angled strike spreads it. The goal is to push the thick lobe of the breast out toward the thinner edges to achieve uniform thickness, not to flatten it into a pancake with uneven texture.
Wait for the chicken to release before the first flip: Directions Step 7 specifies cooking until the chicken releases on its own from the GrillGrates. A properly seared surface will release cleanly; an under-seared surface will tear and stick. On a 450°F GrillGrate surface, this takes approximately 2–3 minutes for a ½-inch-thick pounded breast. If resistance is felt when attempting to flip, wait another 30–60 seconds and try again.
Move to the cool side before the chicken is fully cooked — not after: Directions Step 7 specifies moving to the cooler side when the chicken is "nicely browned" — this means the searing is done but the internal temperature is still short of the target. The cool side finishes the cook through indirect convection without adding more char. Waiting until the chicken is fully cooked before moving it means the exterior will overcook during the finish and the two-zone advantage is wasted.
Recommended Recipes
Nutrition
Nutrition
- Nutrition Serving Size
- 6 oz
- per serving
- Calories
- 260
- Fat
- 10 grams
- Saturated Fat
- 4 grams
- Cholesterol
- 86 milligrams
- Sodium
- 437 milligrams
- Carbs
- 10 grams
- Sugar
- grams
- Protein
- 29 grams


