

Experience the vibrant flavors of the Southwest with this enticing Chicken Tamale Pie recipe. Combining succulent shredded chicken, lively green chiles, and robust seasonings atop a comforting tamale-cornbread base, this dish offers a symphony of textures and tastes. Baked to perfection in a cast iron skillet, it's crowned with creamy cheese, tangy enchilada sauce, and a sprinkle of fresh cilantro. Perfect for gatherings or cozy family dinners, this Chicken Tamale Pie promises to satisfy cravings and delight palates with every bite.
WHAT YOU'LL LOVE
- The two-phase cooking sequence — first indirect at 325°F, then direct-flame at 425°F — is what produces a properly baked cornbread base and a browned, bubbly cheese top without burning either: The cornbread bakes gently with the damper closed in the first phase; the damper opens and the temperature rises for the second phase, which browns the cheese directly under the oven dome. These are two distinct cooking environments in the same equipment, used sequentially.
- Poking holes in the cornbread before adding the enchilada sauce is the technique that integrates the layers: Direction Step 9 specifies poking holes throughout the cornbread before pouring the enchilada sauce over it. The sauce soaks into the holes and permeates the cornbread during the second bake, producing a result where every bite has both cornbread and sauce flavor rather than a dry cornbread base with wet sauce sitting on top.
- Seasoning under the skin before roasting is the step that puts flavor inside the chicken, not just on the surface: Direction Step 3 specifies pulling the skin back without removing it, seasoning the meat directly, then replacing the skin. The Mexicano Taco Seasoning penetrates the chicken during the roast because it's in direct contact with the meat surface rather than on the skin exterior. The skin protects the seasoning during the roast and then gets removed when shredding.
- This recipe produces 10 generous servings from a 12" skillet — it's designed as a crowd or meal-prep dish: The cornbread base, full chicken filling, and 2 cups of cheese across a 12" cast iron skillet portions cleanly into 10 slices. It holds refrigerated for 3–4 days and reheats well, making it one of the more practical large-format recipes in the ATBBQ catalog.
Chicken Tamale Pie
Tom Jackson
Rated 4.6 stars by 9 users
Category
Poultry
Cuisine
Mexican
Servings
10
Prep Time
20 minutes
Cook Time
2 hours
Calories
422
Embark on a culinary journey inspired by the Southwest with our Chicken Tamale Pie recipe. Tender shredded chicken, seasoned with Cattleman’s Grill Mexicano Taco Seasoning and zesty green chiles, takes center stage atop a velvety tamale-cornbread base. Baked in a cast iron skillet until golden and bubbling, each slice reveals a medley of textures and flavors. Topped with melted Chihuahua cheese, tangy 505 Red Enchilada Sauce, and a garnish of fresh cilantro, this dish transforms any occasion into a flavorful fiesta.
Ingredients
- 1/2 of a whole chicken (about 36 oz)
-
Cattleman’s Grill Mexicano Taco Seasoning
-
1/2 cup 505 Mild or Medium Roasted Green Chiles
- 1/2 cup 505 Red Enchilada Sauce
-
1 cup Marsh Hen Mill Yellow Cornmeal
- 1 cup self rising flour
- 1/4 white sugar
- 1 large egg
- 1/4 cup unsalted butter, melted
- 1 cup sour cream
- 1 (14.5 oz) can // 1 1/4 cup creamed corn
-
1/2 cup 505 Mild or Medium Roasted Green Chiles
-
2 tbsp Cattleman’s Grill Mexicano Seasoning
- 1 tbsp unsalted butter
- 1/2 cup 505 Red Enchilada Sauce
- 2 cups Chihuahua cheese, shredded
- 1/4 cup sour cream
- 3 tbsp fresh cilantro, minced for garnish
Shredded Chicken:
Tamale/cornbread base:
Toppings:
Directions
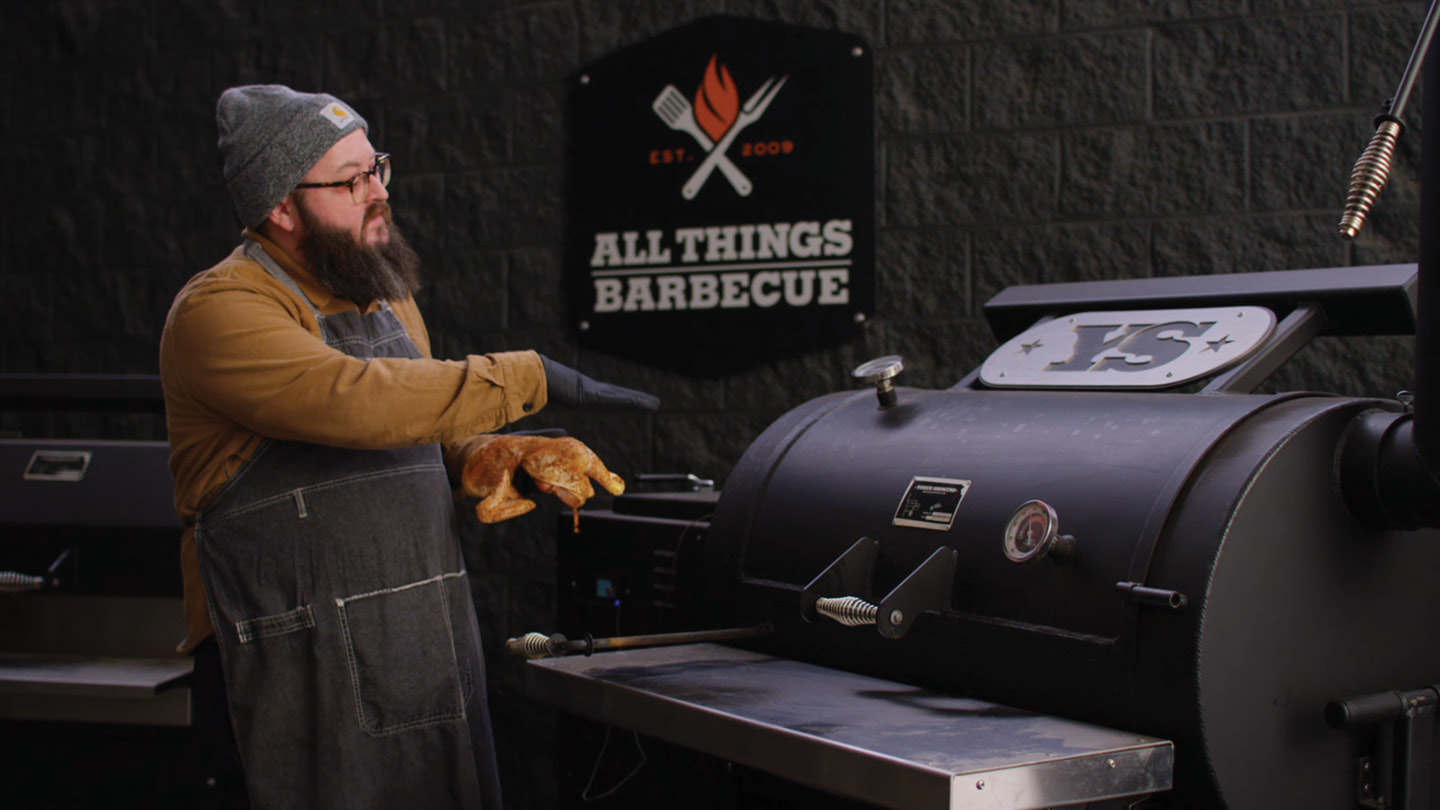
- Preheat your Yoder Smokers YS1500s Outlander Series Pellet Grill to 325ºF with the Yoder Smokers Wood Fire Oven installed, but the damper closed for indirect cooking.
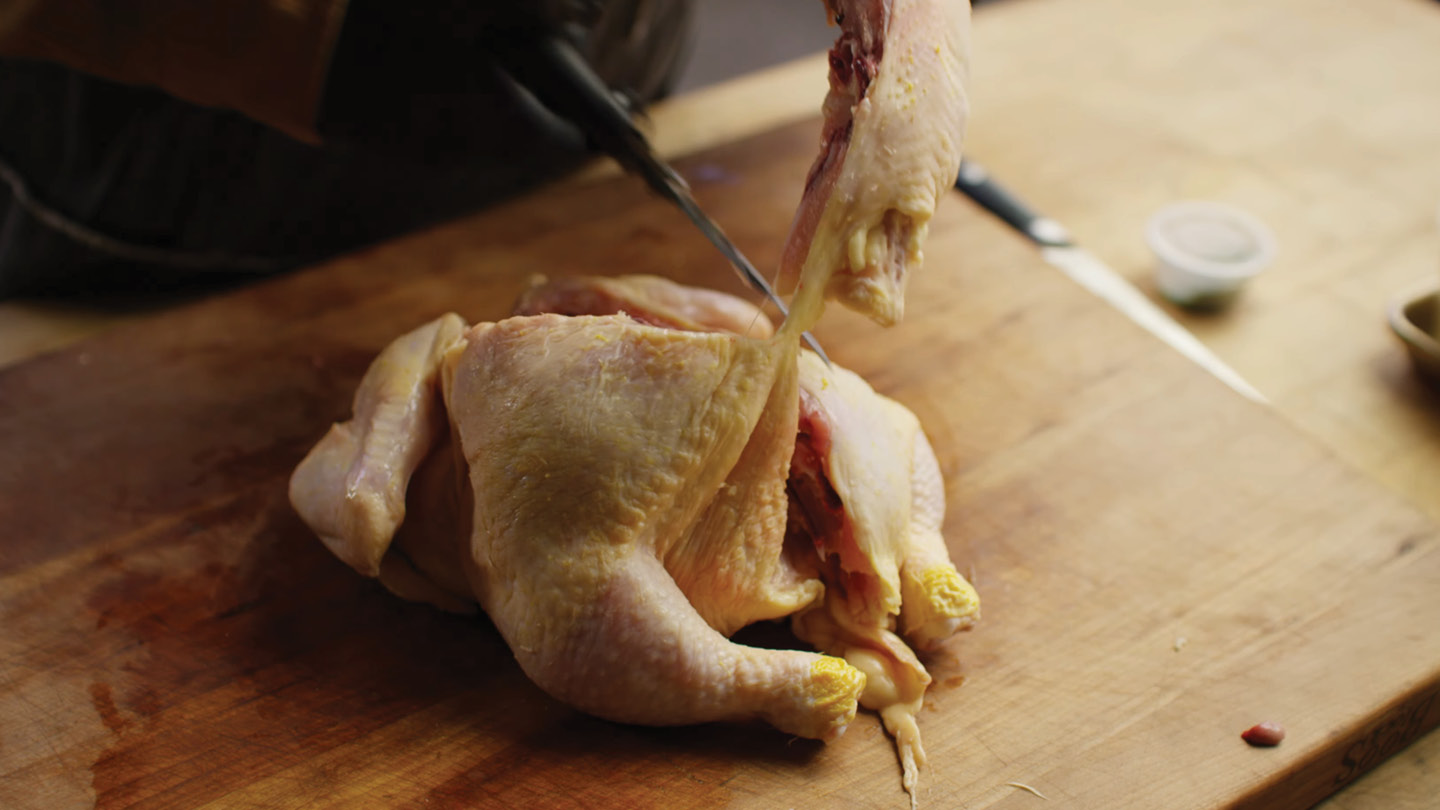
- Spatchcock a whole chicken, then divide the chicken in half, cutting down the center of the breasts. Save half of the bird for another project.
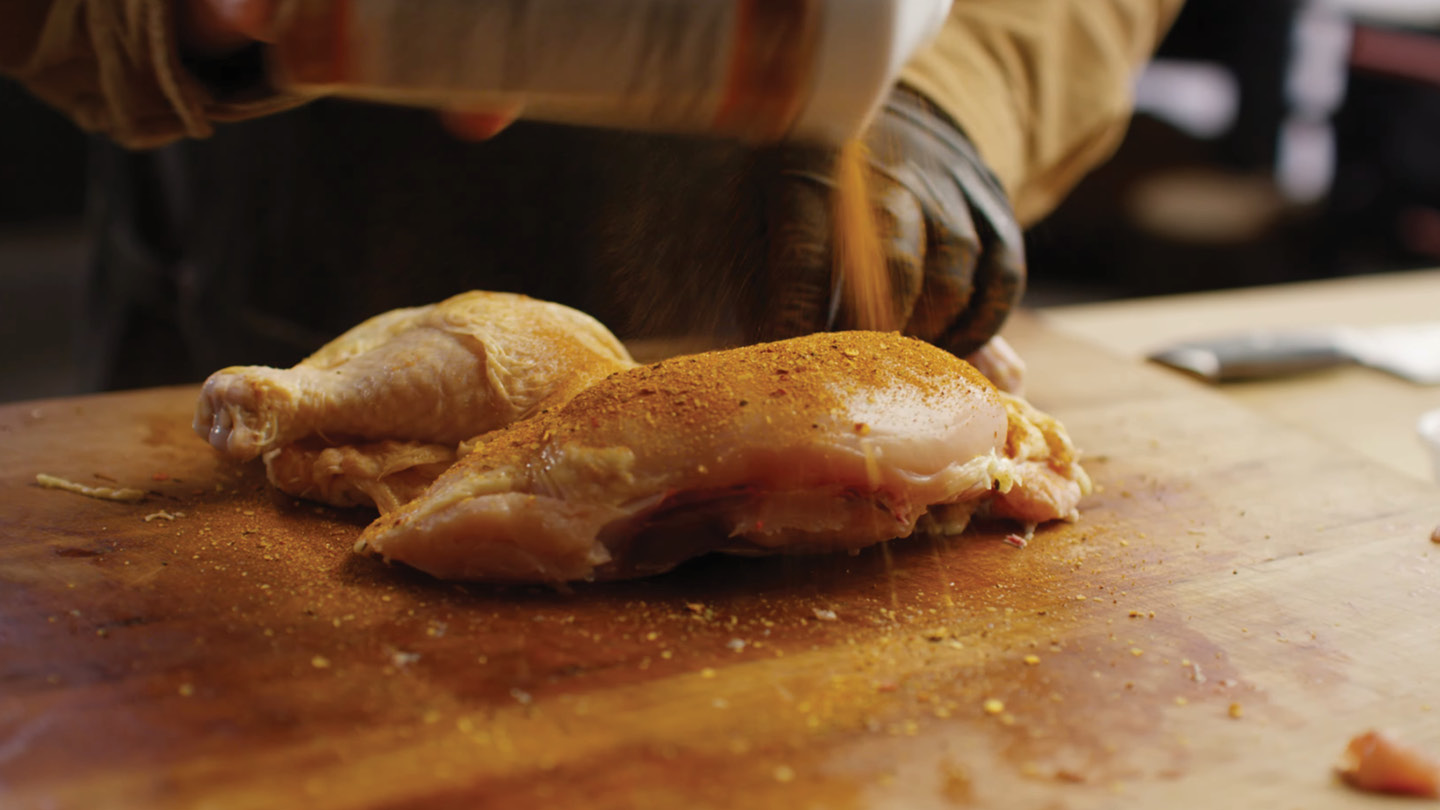
- Pull the skin away from the meat, without removing it entirely, then season the meat under the skin with Cattleman’s Grill Mexicano Taco Seasoning. Put the skin back in place to cover the meat.
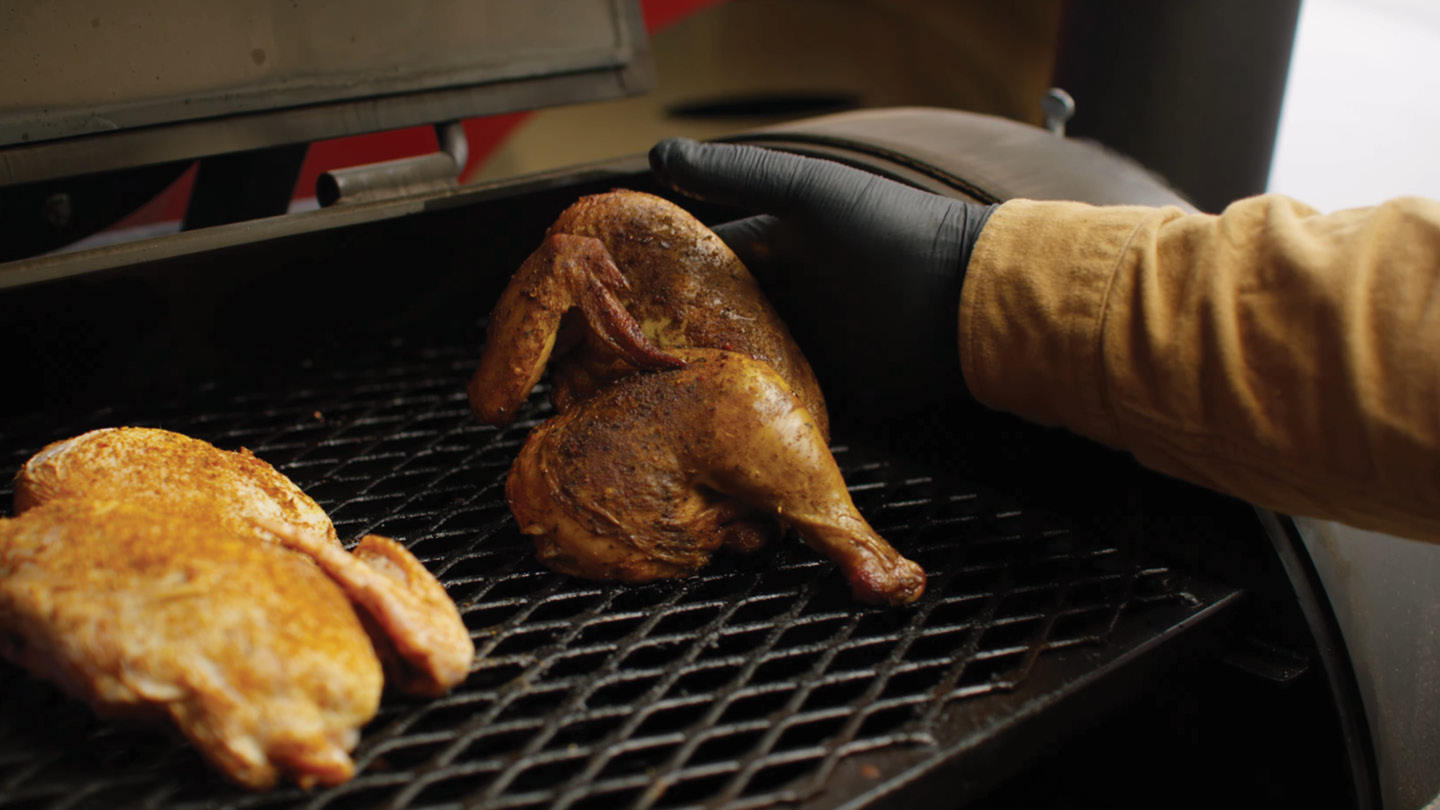
- Roast the half chicken on the second shelf of the smoker until the internal temperature in the breasts reaches 155ºF. Remove from the grill and rest at least 15 minutes.
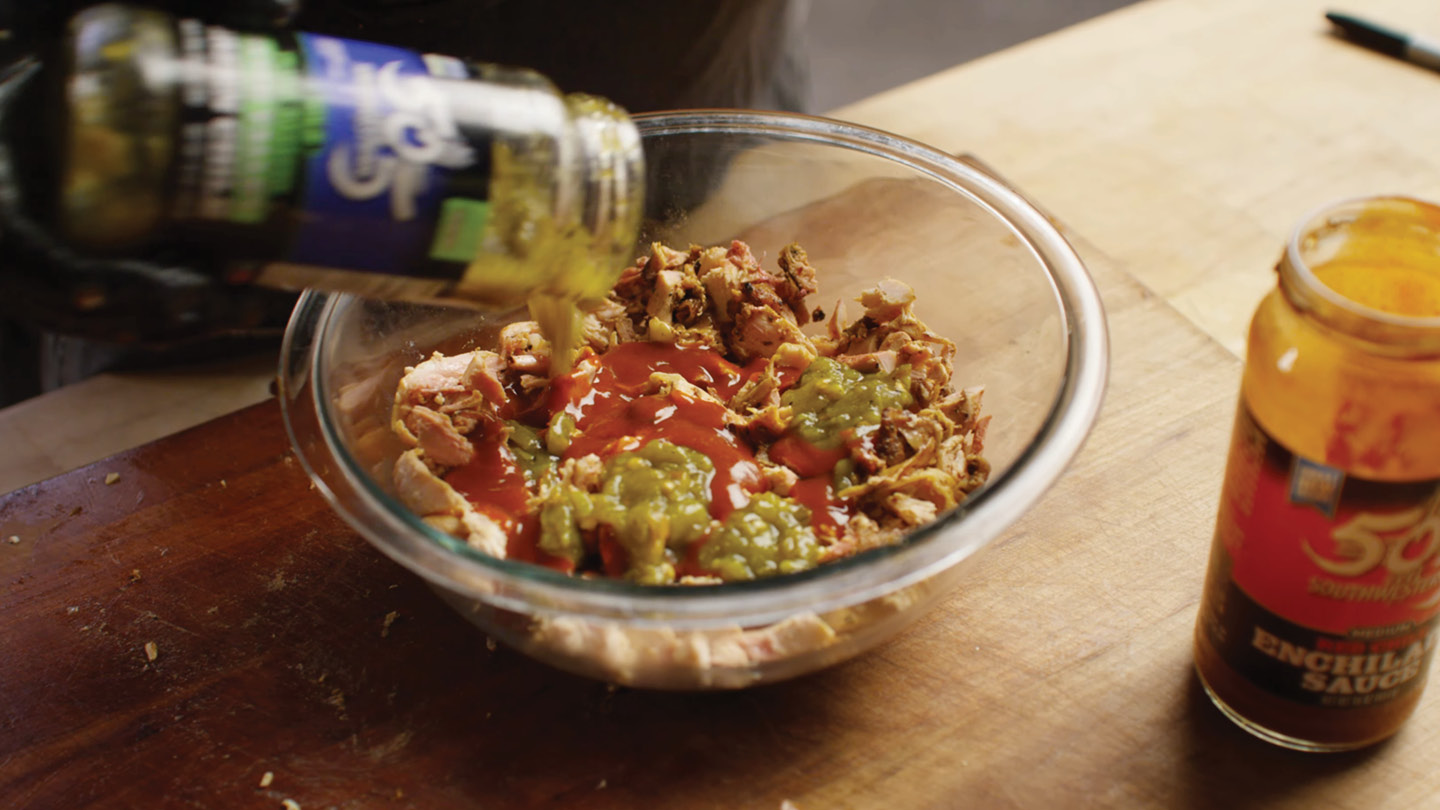
- Shred and chop the chicken. Mix with one half cup 505 Mild or Medium Roasted Green Chiles and one half cup 505 Red Enchilada Sauce.
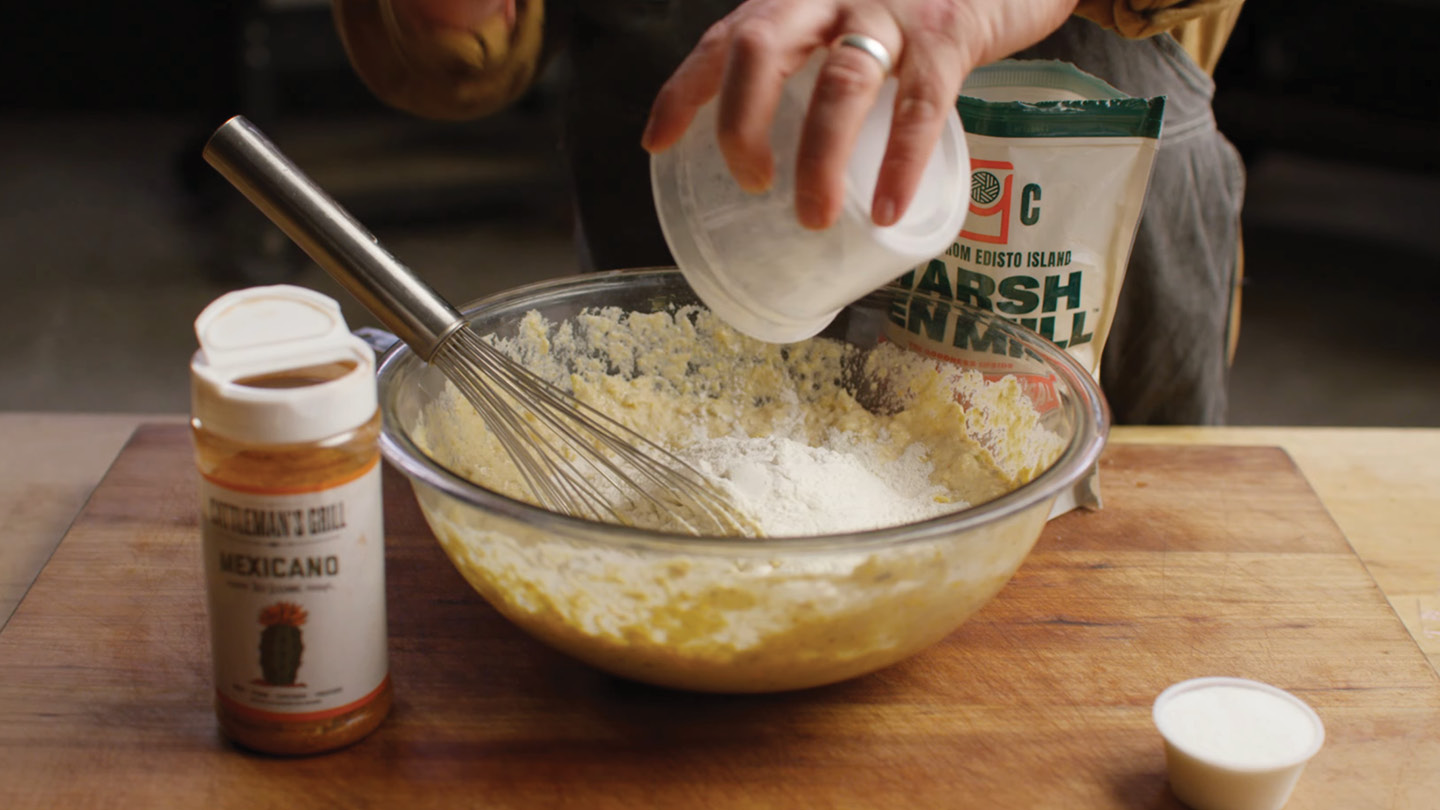
- To make the tamale/cornbread base, combine the wet ingredients first in a mixing bowl. Whisk to combine. Then whisk in the dry ingredients until well incorporated.
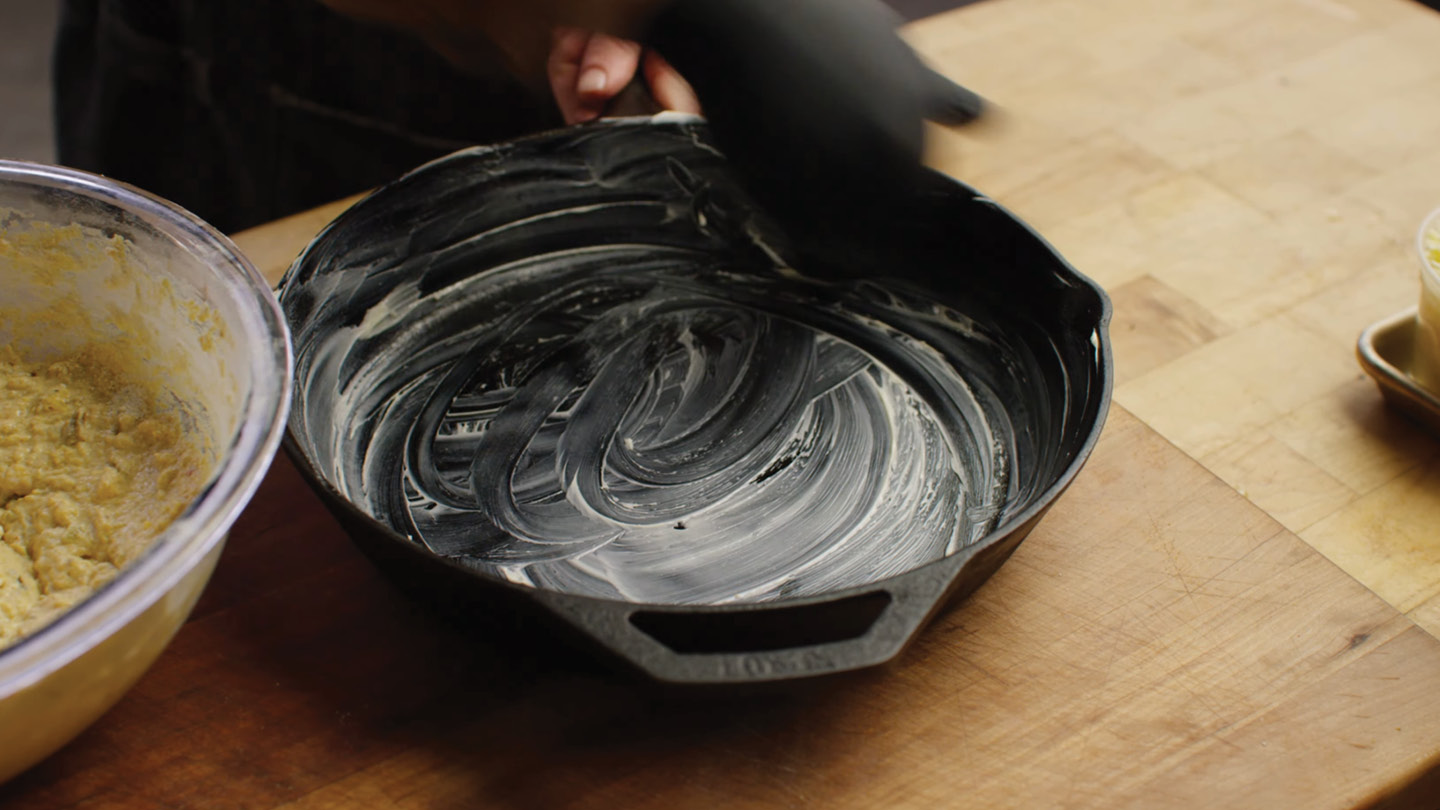
- Grease a Lodge 12” Cast Iron Skillet with the remaining (one tablespoon) of butter. Pour the batter into the skillet. Transfer to the wood fired oven and bake until a toothpick comes out clean, about 15 minutes.
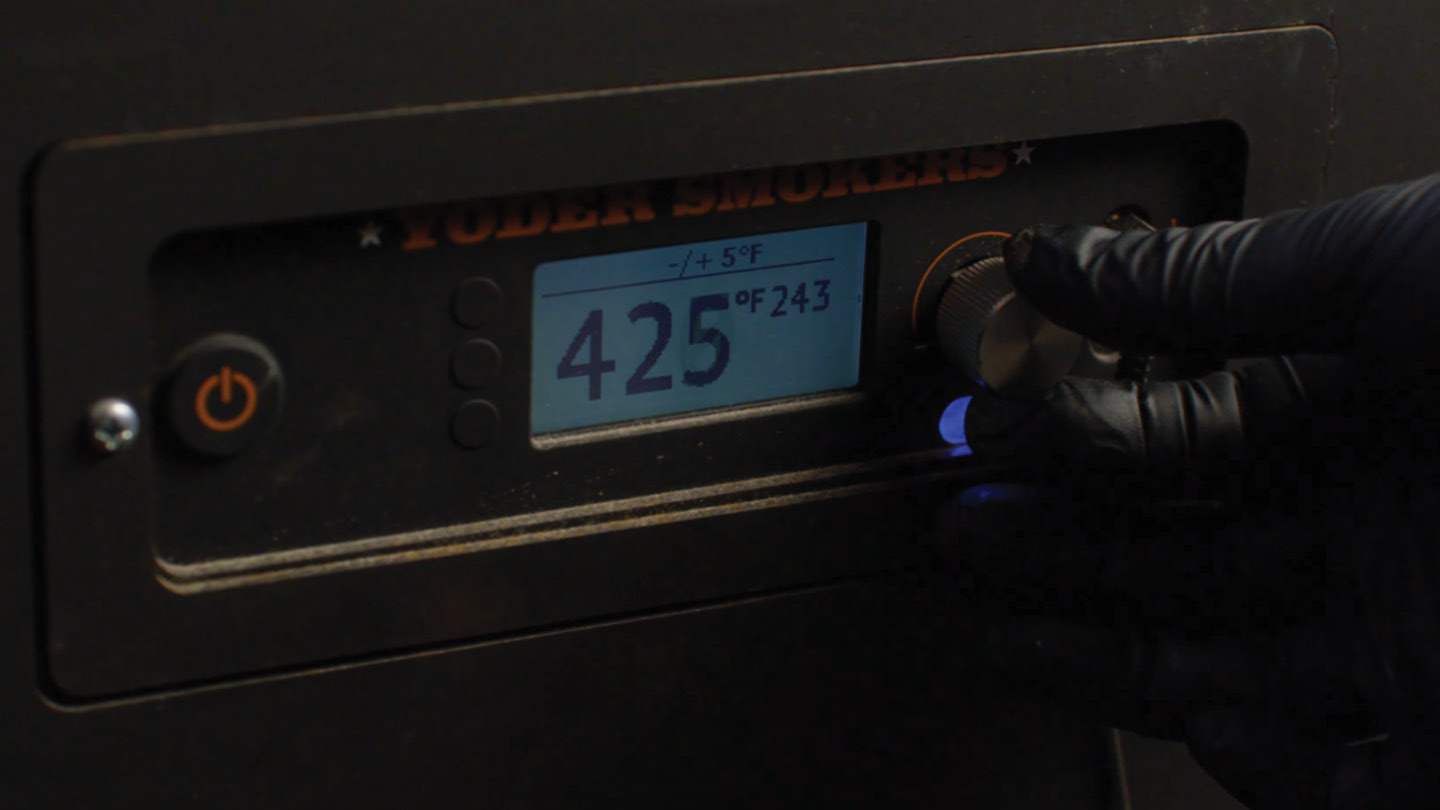
- Remove the skillet from the oven and open the damper to allow the flames to enter the oven. Turn the grill temperature up to 425ºF.
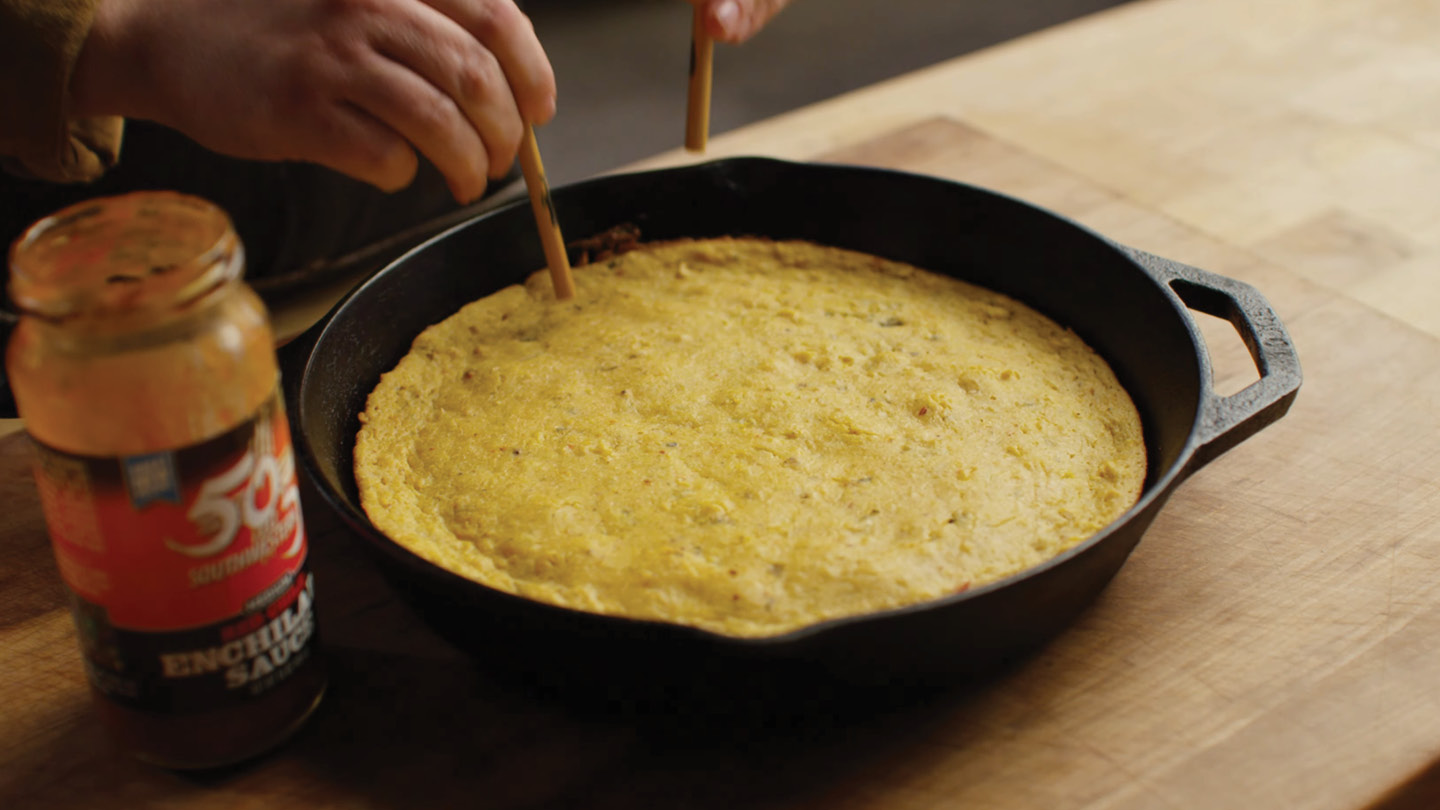
- Using chop sticks, poke holes in the cornbread. Pour one half cup 505 Red Enchilada Sauce over the corn bread. Top with the chicken mixture. Cover with the Chihuahua cheese.
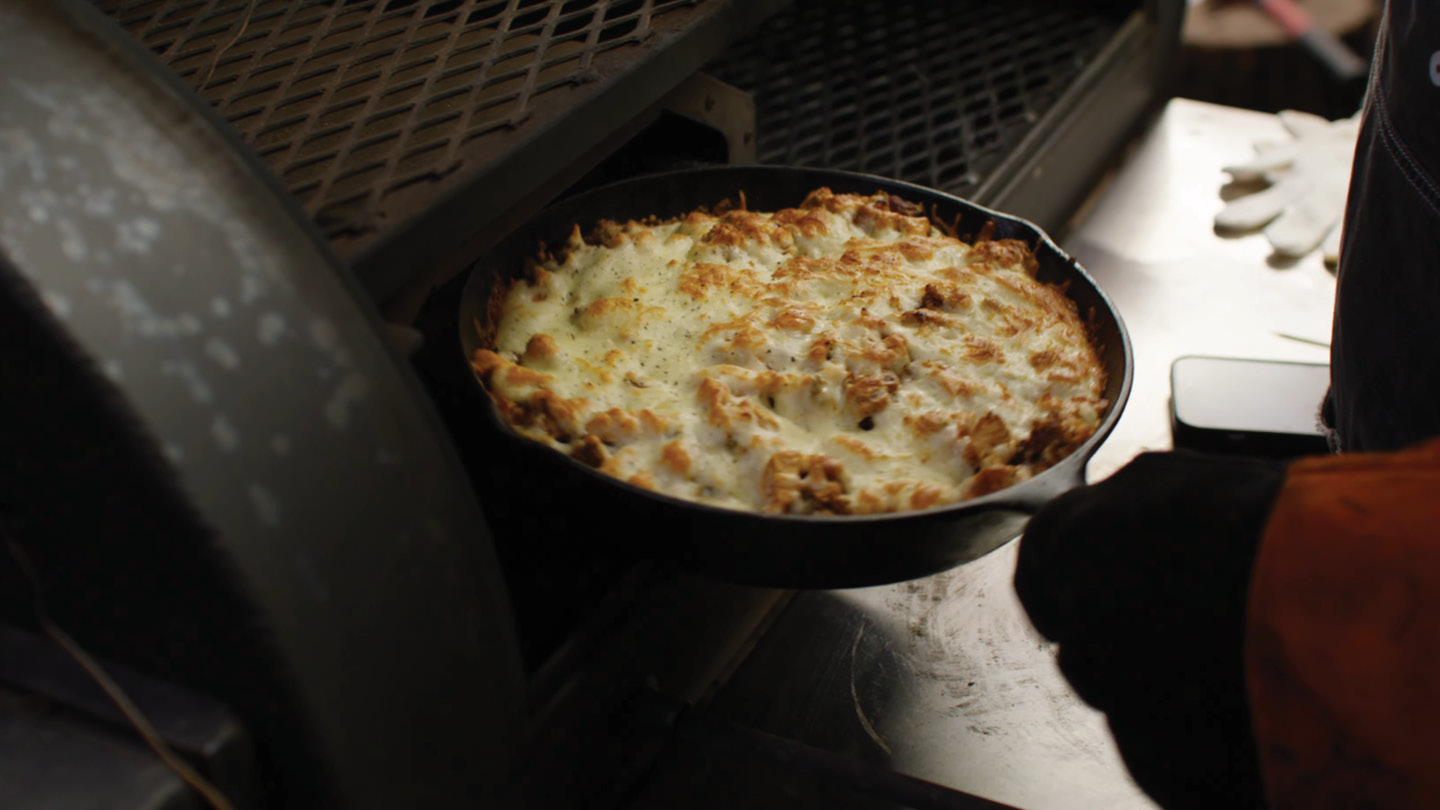
- Return the skillet to the Wood Fire Oven. Cook until the cheese on top is browned, about 6-87 minutes.
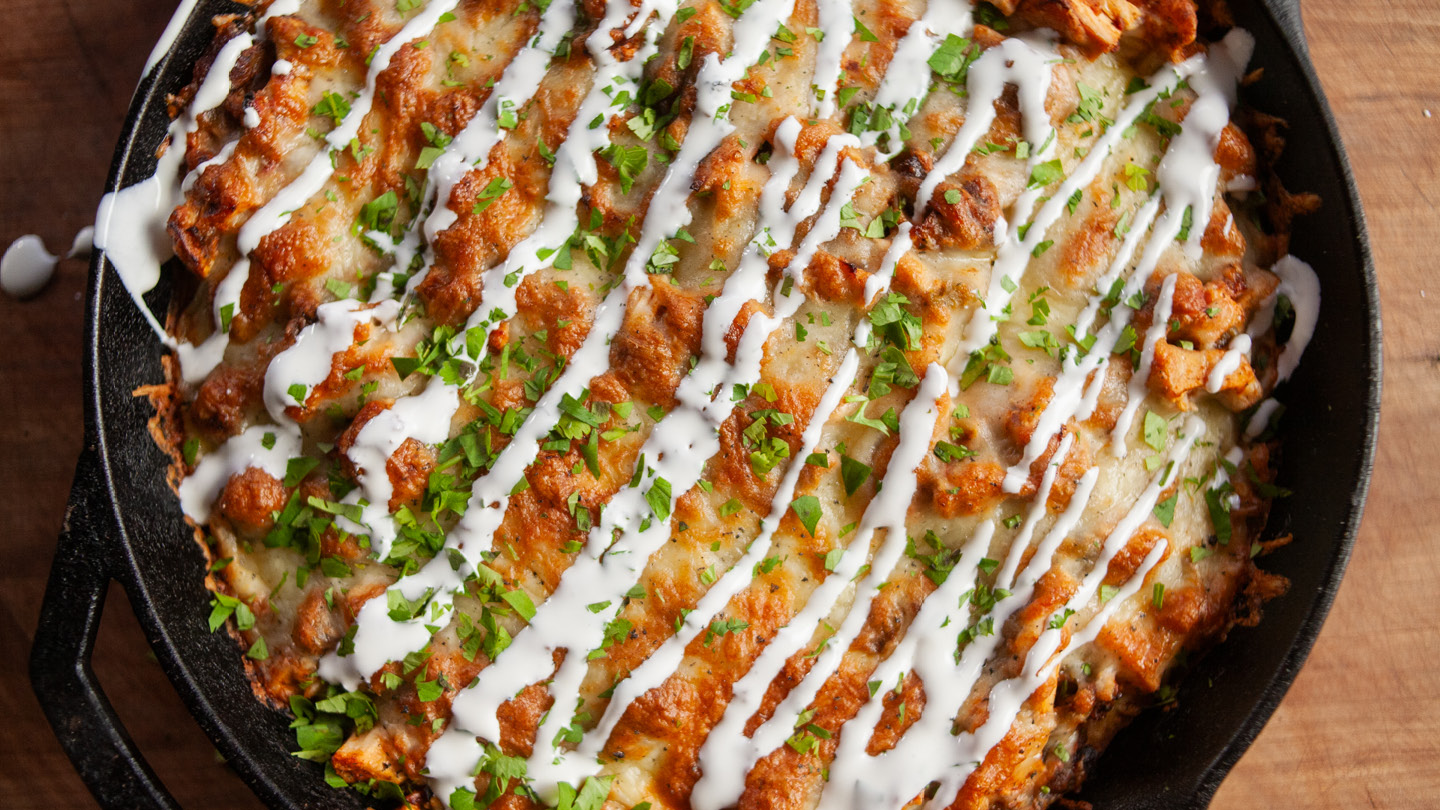
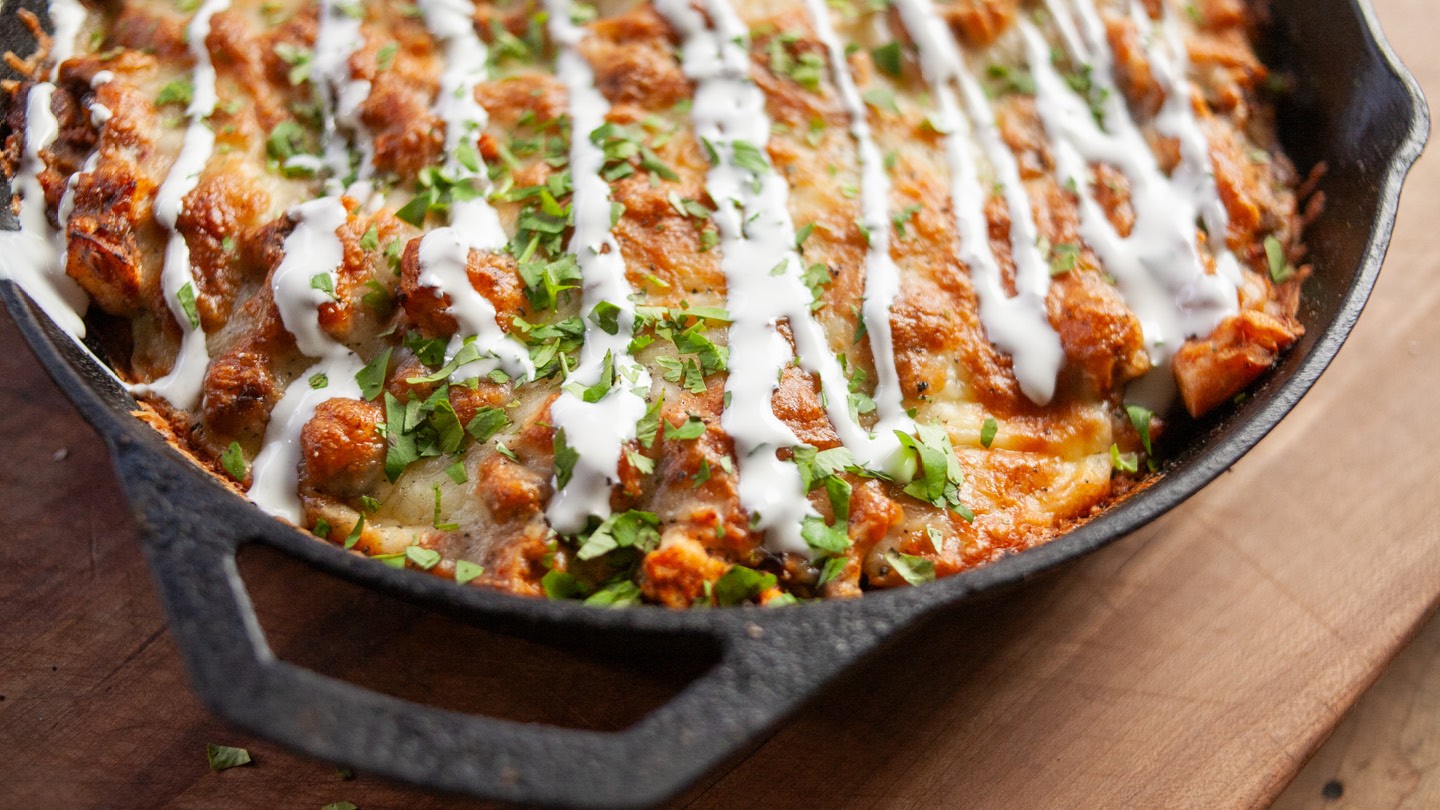
- Remove from the oven and top with cilantro and sour cream.
Recipe Note
Recipe FAQ
What is a tamale pie?
Tamale pie is an American adaptation of traditional tamales — the Mesoamerican dish of masa (corn dough) filled with seasoned meat and steamed in corn husks. Tamale pie takes the same flavor combination (seasoned meat, chile, cheese, cornmeal) and bakes it as a skillet casserole rather than individual wrapped tamales. The cornbread base here uses cornmeal, sour cream, creamed corn, and green chiles to approximate the flavor and texture of masa, producing a base that's softer and more cakey than a pure cornbread but moister and more savory than a standard tamale masa. It's a one-skillet adaptation designed for the cast iron and Wood Fire Oven environment.
Why pull the chicken at 155°F?
Direction Step 4 specifies pulling the chicken at 155°F and resting for at least 15 minutes. FDA guidelines for poultry specify 165°F as the instant-kill temperature, but the USDA also recognizes that holding chicken at 155°F for a minimum of 54 seconds achieves the same pathogen reduction through carryover cooking. A 15-minute rest at 155°F far exceeds this threshold — the internal temperature will rise to 165°F or above during the rest period. This approach produces juicier chicken than cooking to 165°F on the grill, since less moisture is driven off before pulling. Always use a thermometer and rest for the full 15 minutes.
Why combine wet ingredients before dry in the cornbread batter?
Direction Step 6 specifies combining wet ingredients (egg, melted butter, sour cream, creamed corn, green chiles) first, then whisking in the dry ingredients (cornmeal, flour, sugar). Adding dry ingredients to wet prevents over-mixing — once the flour is incorporated, you want to stop mixing immediately. If you combine dry in a separate bowl and pour wet into dry, you tend to continue mixing until everything is uniformly smooth, which overdevelops the gluten in the flour and produces a dense, tough cornbread. The wet-first approach naturally limits mixing time once the dry ingredients are added.
What does the enchilada sauce soaking into the cornbread holes do?
Direction Step 9 specifies poking holes throughout the baked cornbread before pouring the enchilada sauce over it. This technique — borrowed from "poke cake" baking — allows the sauce to penetrate the interior of the cornbread rather than sitting on the surface. The enchilada sauce soaks into the holes during the second bake and distributes throughout the cornbread base, infusing it with chile and tomato flavor at every depth. Without the holes, the sauce pools on the surface and runs to the edges, producing an uneven flavor distribution.
Can I substitute a different enchilada sauce if the 505 Red is unavailable?
Yes — any red enchilada sauce works. The 505 Medium Red Chile Enchilada Sauce is currently out of stock; Las Palmas, Hatch, or homemade red chile sauce are all appropriate substitutes. The flavor profile varies slightly by brand — Hatch produces a spicier result; Las Palmas is milder and more tomato-forward. Use medium heat as the baseline to match the recipe's intended spice level.
Can I make this indoors?
3 out of 5 — Works indoors with adjustments. A home oven at 325°F handles the cornbread bake and the chicken roast identically. For the second phase (browning the cheese), switch to broil for the final 3–5 minutes after returning the skillet to the oven — watch closely. What you lose is the radiant dome heat of the Wood Fire Oven, which browns the cheese from above more evenly and quickly than a home broiler. The result is still excellent; just requires more attention during the cheese-browning phase.
Recipe Highlights
Season under the skin — not on top of it: Direction Step 3 is explicit: pull the skin away from the meat without removing it, season directly on the meat surface, then replace the skin. The skin acts as a moisture barrier during the roast — seasoning placed on top of the skin protects the seasoning from the ambient heat but prevents it from contacting the meat. Under-skin seasoning produces a chicken where every fiber of meat carries the Mexicano Taco Seasoning flavor, not just the skin surface that gets removed before shredding.
Bake the cornbread until a toothpick comes out completely clean — not just mostly clean: Direction Step 7 specifies "until a toothpick comes out clean, about 15 minutes." The cornbread batter contains creamed corn, sour cream, and green chiles — all moisture-heavy ingredients — which can make the center appear underdone longer than a standard cornbread recipe. Test in the absolute center of the skillet. If the toothpick comes out with wet batter (not just crumbs), give it another 3–5 minutes before proceeding to the sauce-and-chicken assembly.
Open the damper fully before raising the temperature to 425°F: Direction Step 8 specifies removing the skillet, opening the damper, then raising to 425°F. The sequence matters — opening the damper while the skillet is out allows the live flames to enter the oven chamber and begin heating it before the skillet returns. Returning a cold-topped skillet to an already-flamed oven produces faster, more even cheese browning than opening the damper after the skillet is back inside.
Watch the cheese carefully during the 6–8 minute browning phase: Direction Step 10 specifies "about 6–8 minutes" (the "6-87 minutes" in the published directions is a typo). At 425°F with open-damper direct flame in the Wood Fire Oven, Chihuahua cheese browns quickly and can go from golden to dark in under a minute. Check at 5 minutes, then every 60 seconds. Pull when the cheese surface is golden-brown with light caramelization at the edges — avoid charring, which introduces bitterness into an otherwise sweet-savory dish.
Recommended Recipes
Nutrition
Nutrition
- Nutrition Serving Size
- 6 oz
- per serving
- Calories
- 422
- Fat
- 17 grams
- Saturated Fat
- 9 grams
- Cholesterol
- 86 milligrams
- Sodium
- 848 milligrams
- Carbs
- 52 grams
- Fiber
- 2 grams
- Sugar
- 9 grams
- Protein
- 17 grams


