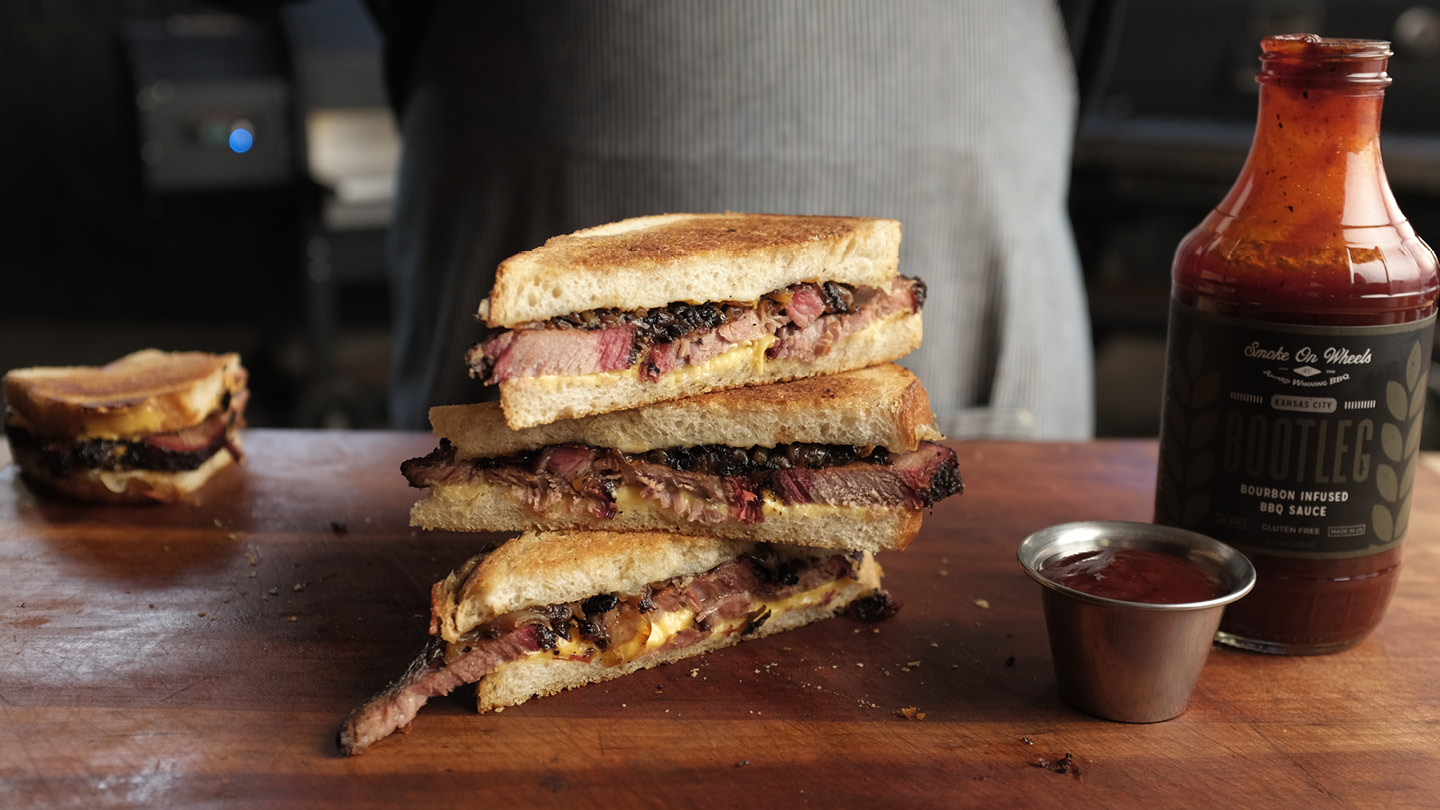
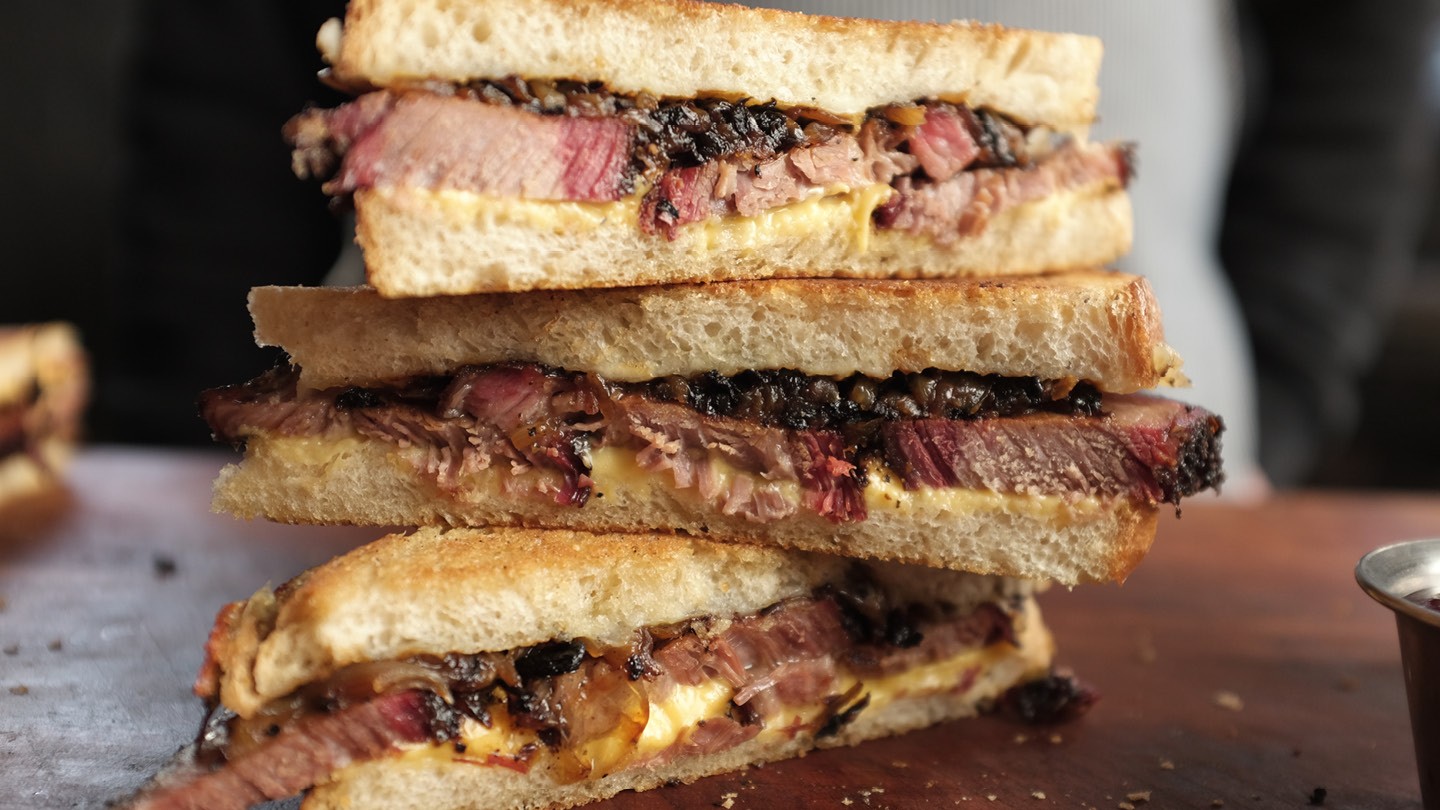
Recipe Note
Recipe FAQ
What is a brisket flat and how is it different from a whole packer brisket?
A whole packer brisket consists of two muscles: the flat (also called the "first cut") and the point (also called the "second cut" or "deckle"). The flat is the leaner, more uniform muscle — it slices cleanly and produces the even rectangular slices most people picture when they think of sliced brisket. The point is fattier and more irregular, often used for burnt ends. This recipe uses the flat specifically because its even thickness produces consistent slices for the sandwich and its leaner profile prevents the melt from becoming excessively greasy.
Why smoke the brisket at 190°F overnight instead of starting at a higher temperature?
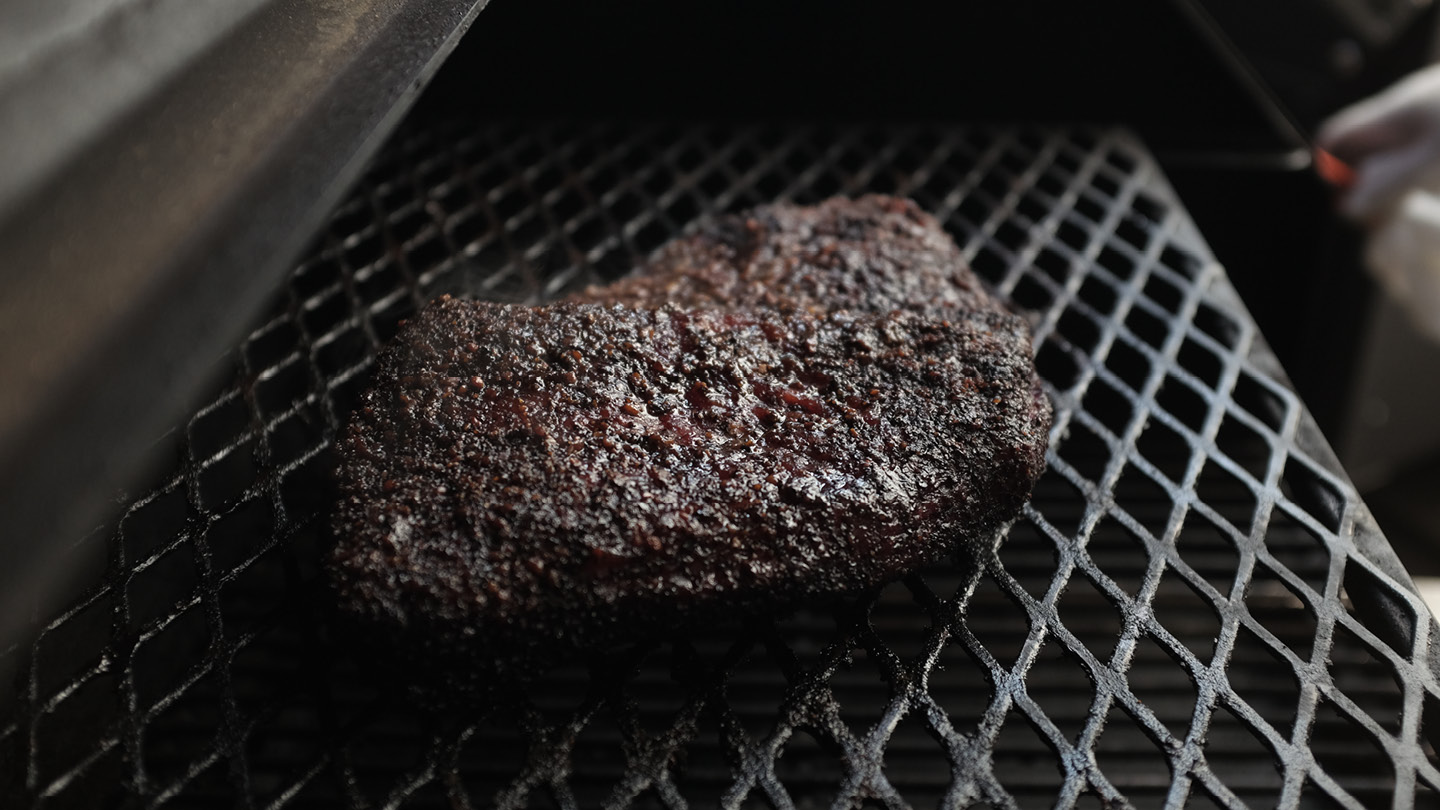
190°F is a low-and-slow starting temperature that extends the smoke absorption window. The smoke ring and deep pellet smoke character that define this brisket develop primarily in the early hours of the cook, before the bark fully sets. Starting at 190°F allows 8–10 hours of smoke penetration before the temperature is raised to 250°F in the morning. Starting at 250°F compresses this window and produces a lighter smoke character — still good, but not the deeply smoked brisket the recipe is designed around.
Why wrap the brisket in foil?
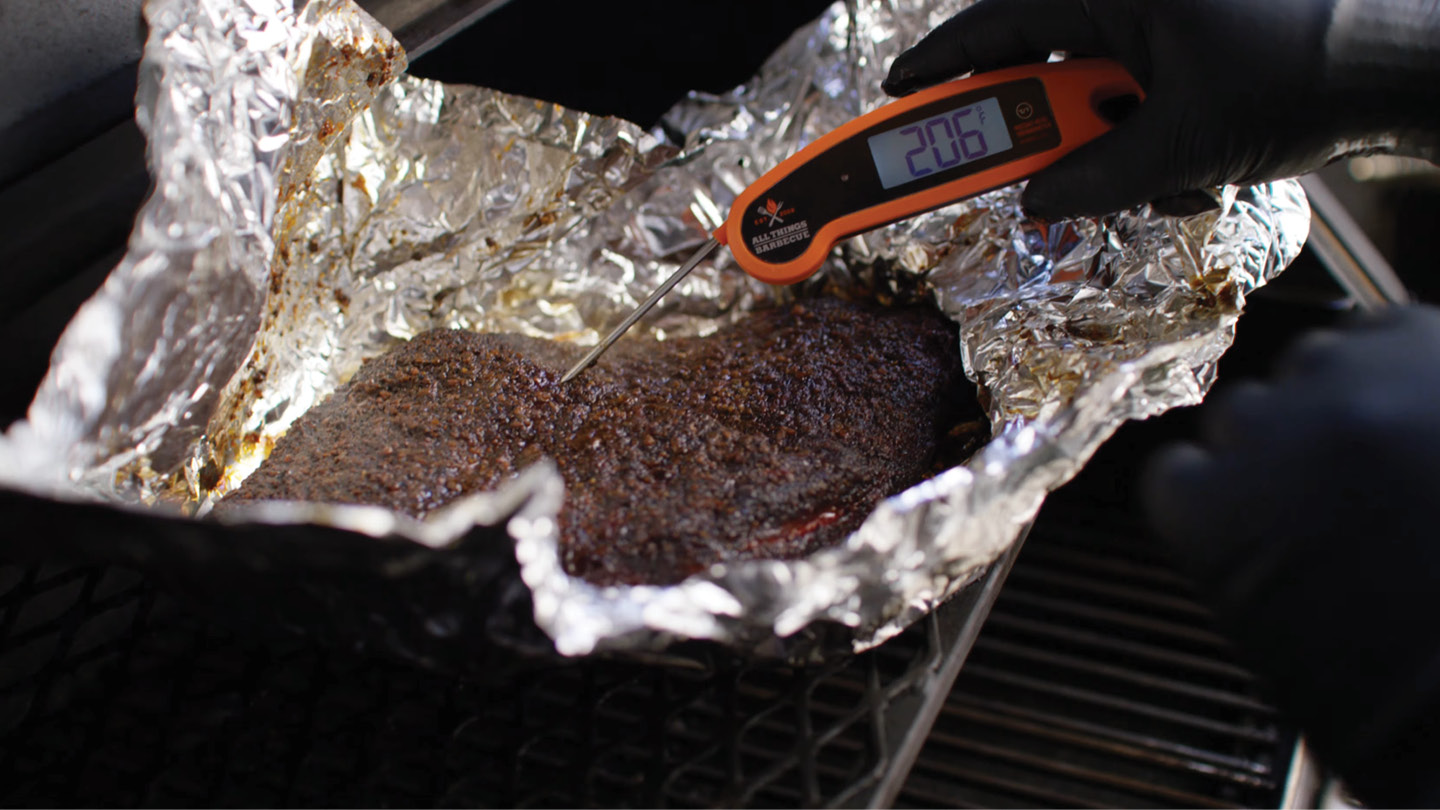
Direction Step 4 wraps the brisket after the bark sets at approximately 160°F internal temperature. Wrapping serves two functions: it traps the moisture the brisket has been slowly releasing during the smoke phase, creating a braising environment inside the foil that accelerates the final push to 205°F; and it prevents the bark from continuing to darken past the desired mahogany. Without wrapping, the brisket can over-smoke and the bark can become bitter during the final temperature climb.
Why do the caramelized onions take 45 minutes?
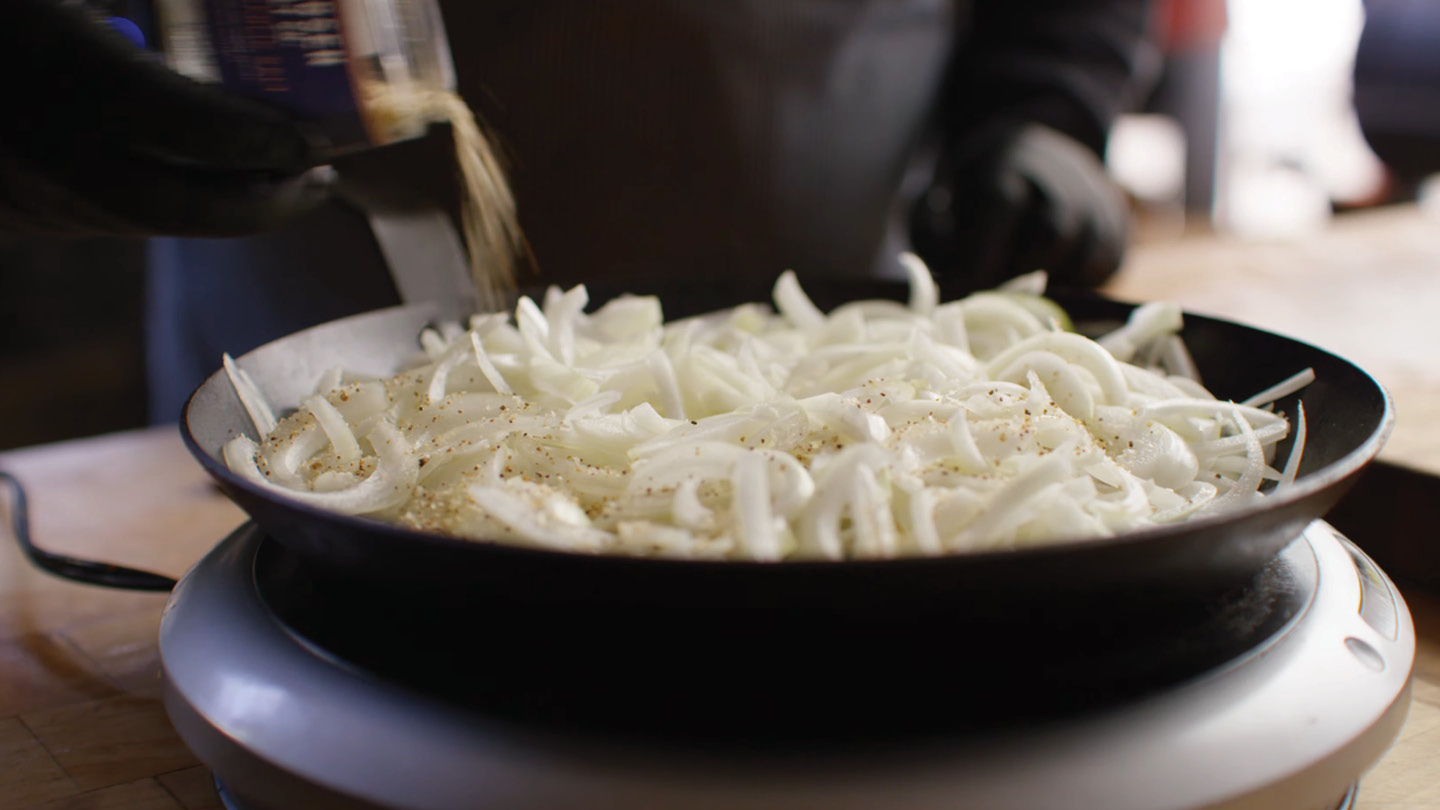
Direction Step 5 specifies cooking over medium-low heat for about 45 minutes, stirring occasionally. True caramelized onions require patience — the sugar conversion process (from sharp, pungent raw onion to sweet, silky, deeply colored caramelized onion) takes 40–60 minutes at low heat. Rushing the process at high heat produces browned but not caramelized onions — they soften and color but retain a sharper, less sweet flavor. The Jacobsen Black Garlic Salt added at the start accelerates the moisture-drawing phase, but the caramelization itself can't be rushed.
Can I use leftover brisket instead of smoking a fresh one?
Yes — leftover smoked brisket is actually ideal for this recipe. The sandwich assembly step requires only sliced brisket, and refrigerated leftover brisket slices well when cold. Warm the slices in a covered skillet with a small amount of beef tallow or the brisket's own drippings before assembling to bring them to serving temperature. The entire recipe becomes a 60-minute project when the brisket is already made.
Can I make this indoors?
3 out of 5 — Works indoors with adjustments. The caramelized onions and griddle sandwich assembly are entirely stovetop-compatible — a preheated cast iron skillet over high heat with butter produces excellent results. What you lose is the overnight pellet smoke character on the brisket. Using store-bought smoked brisket or a home oven brisket braise produces a very good sandwich, just without the deep smoke ring and bark that define the recipe as written.
Recipe Highlights
Rest the brisket in a cooler for at least one hour — don't skip this: Direction Step 4 specifies resting in a cooler for at least an hour after pulling from the grill. The rest allows the internal juices to redistribute from the center toward the exterior — slicing immediately after pulling produces a brisket that loses its juices on the cutting board rather than retaining them in the meat. The cooler hold also keeps the brisket at serving temperature for hours, which is what makes this recipe ideal for advance preparation.
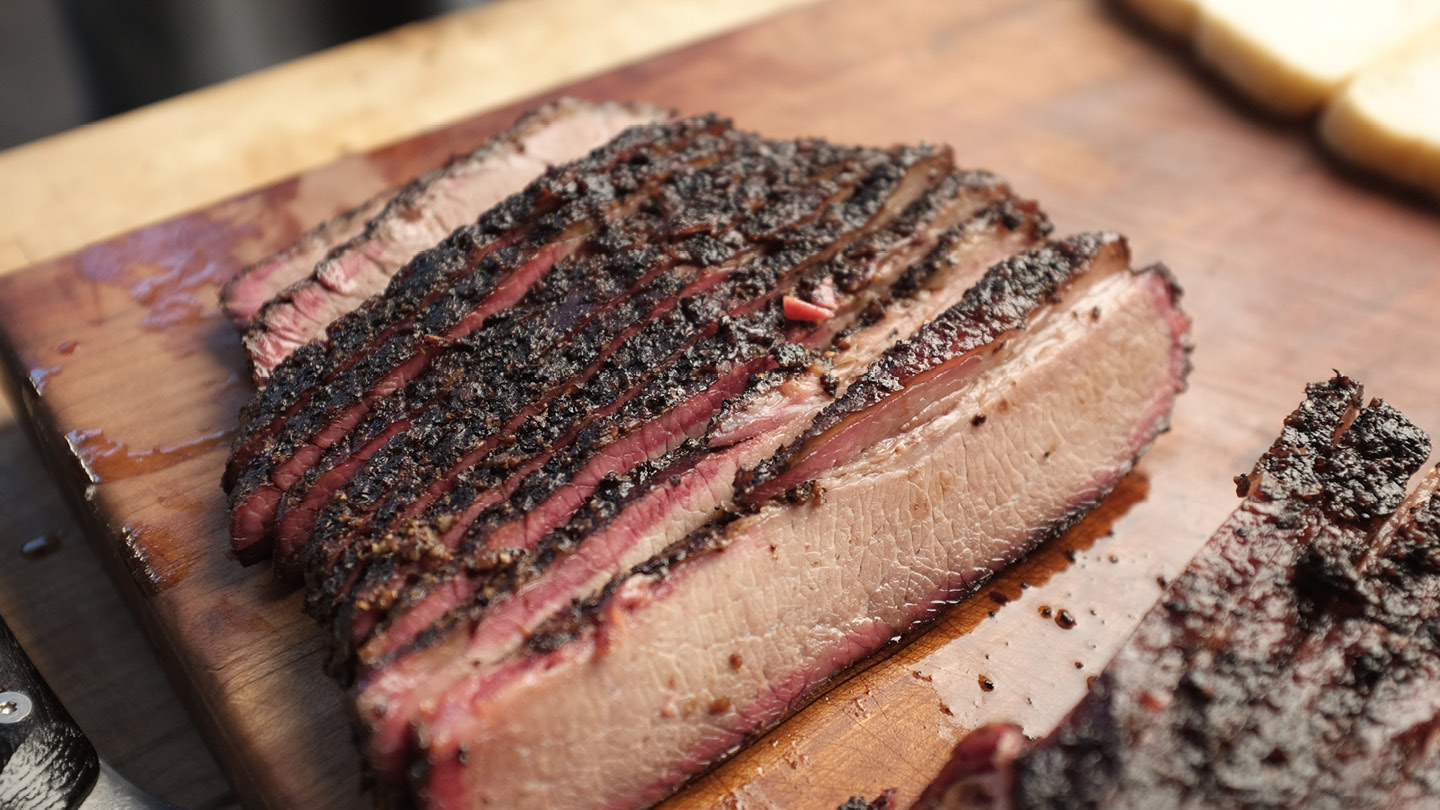
Slice across the grain at 1/8"–1/4" — thin enough to be tender, thick enough to have presence in the sandwich: Direction Step 6 specifies this range. The grain on a brisket flat runs the length of the muscle — look for the long lines of muscle fiber and cut perpendicular to them. Slices cut with the grain are tough and chewy; slices cut across the grain are tender and pull apart easily. At 1/8"–1/4" thickness, each slice is thin enough to be pliable in the sandwich but thick enough to contribute beefy texture with each bite.
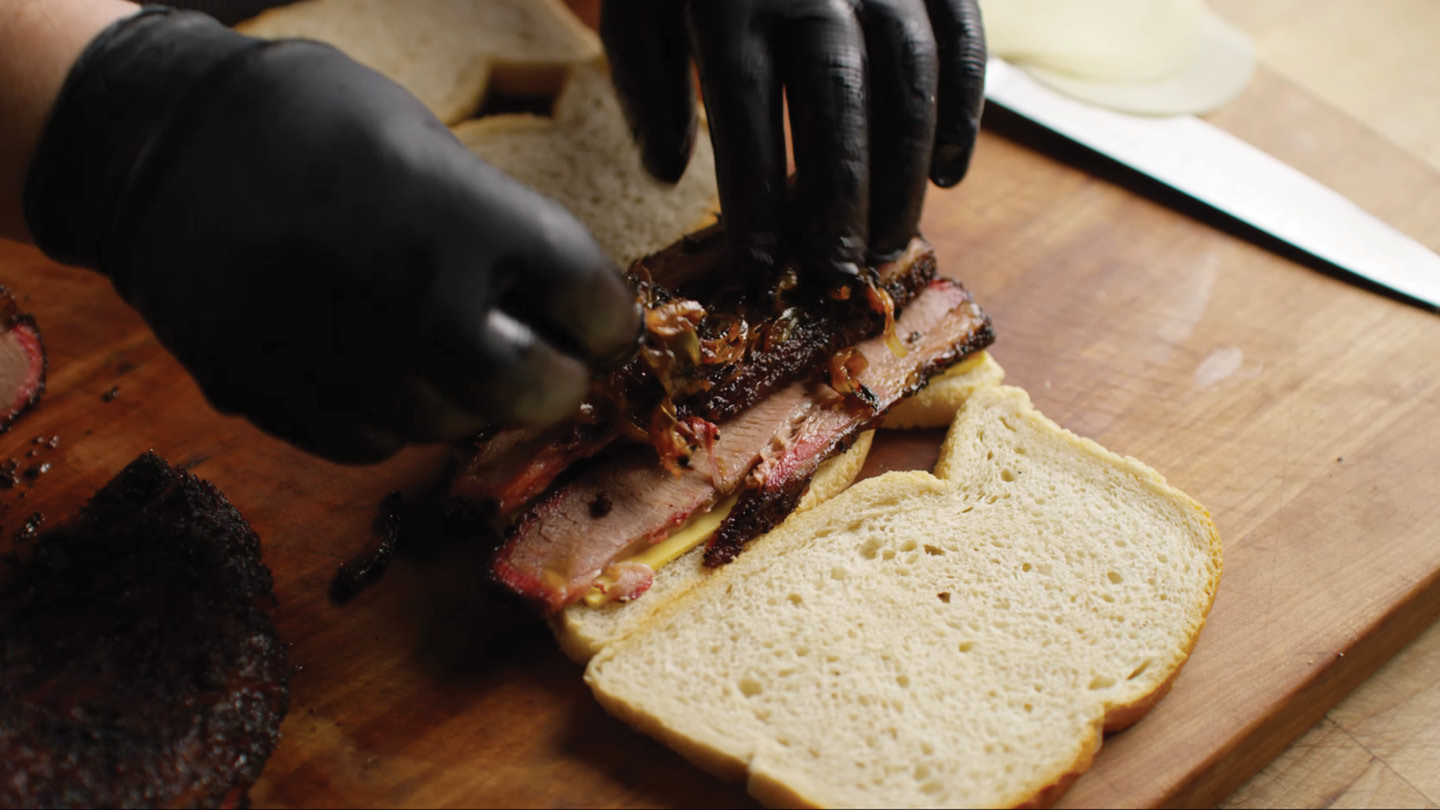
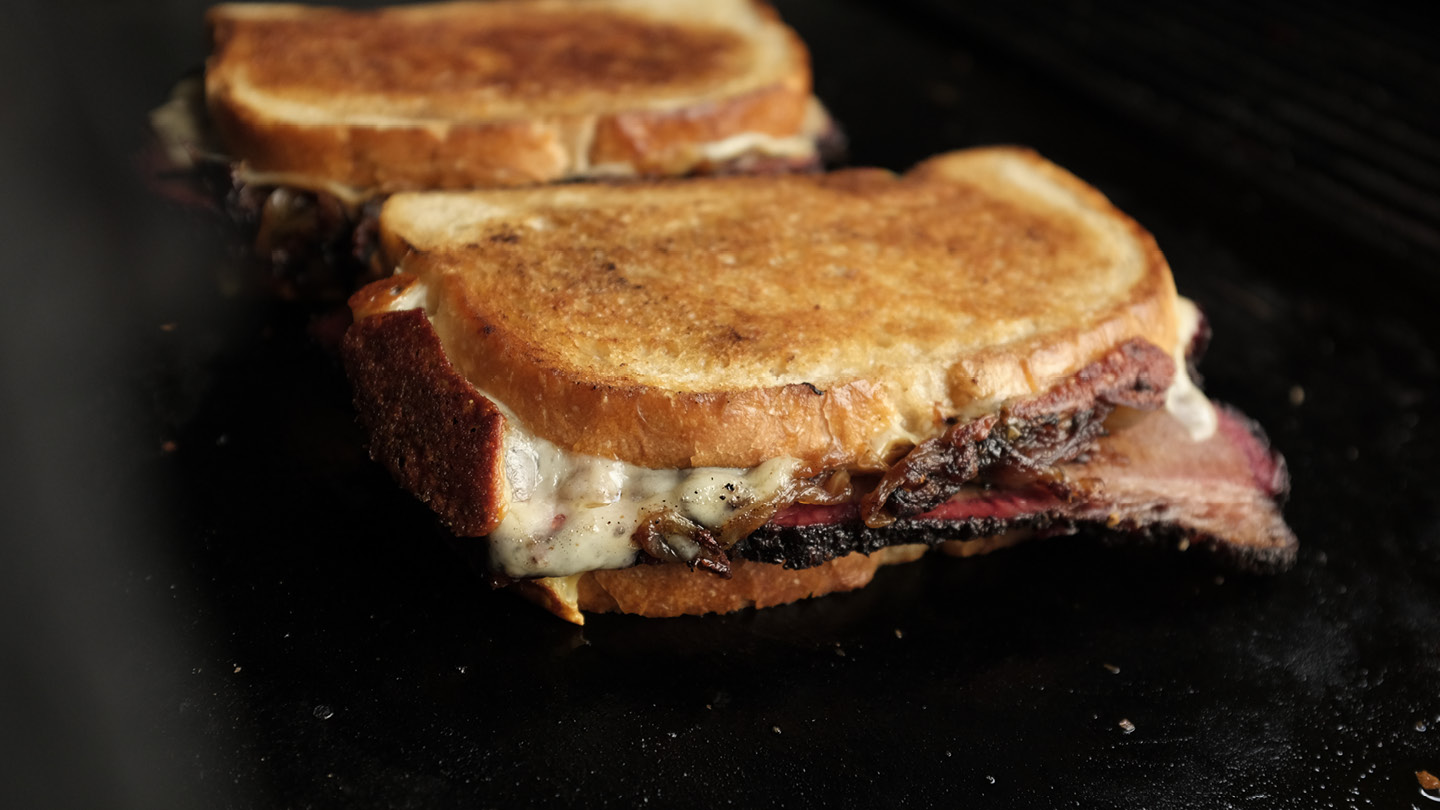
Build the sandwich cold — warm it on the griddle, not in the oven: Direction Step 7 assembles the sandwich at room temperature before it goes on the hot griddle. The griddle is the cooking surface that simultaneously toasts the bread exterior and melts the cheese from the heat conducted through the bread. Building the sandwich and then putting it in an oven produces a different result — the bread softens rather than crisping and the cheese melts unevenly. The griddle method produces the crispy-exterior, gooey-interior result the recipe is designed around.
Flip into fresh butter for the second side — don't just flip dry: Direction Step 8 specifies adding the last tablespoon of butter before flipping the sandwich into it. The first side toasts in one tablespoon of butter; the flip goes into a fresh tablespoon added just before flipping. This ensures both sides have equal butter coverage — a dry flip produces an uneven sandwich where one side is golden-brown and the other is pale. The second side also benefits from the residual heat that has built up in the griddle, so it typically toasts faster than the first.
Recommended Recipes