

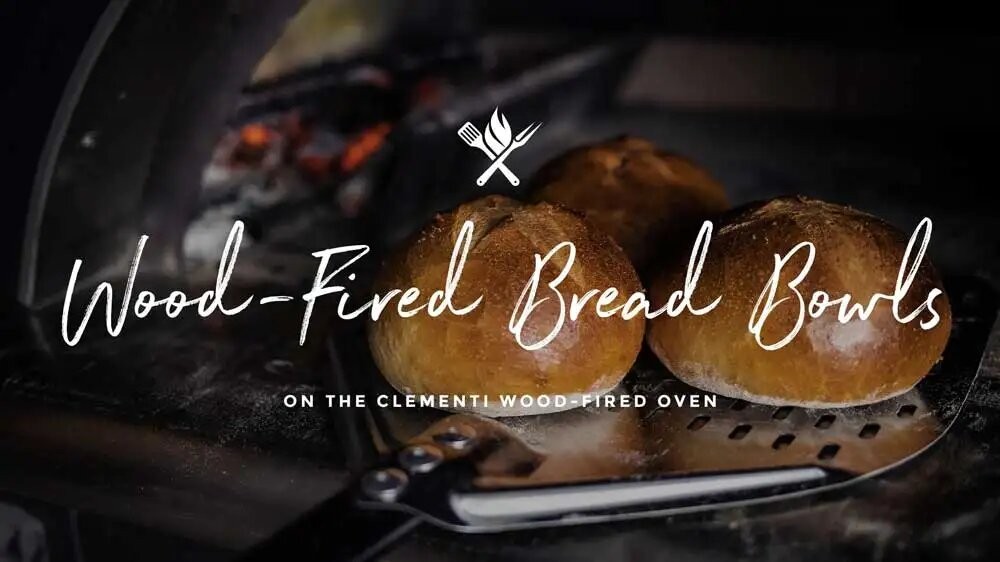
Discover the difference that a wood-fired oven makes with Chef Tom's Bread Bowl recipe! Follow his guidance to mix, proof, shape, and bake your own delicious creations, full of aroma and flavor.
WHAT YOU'LL LOVE
- Letting the yeast foam on the surface of the warm water before adding flour confirms it's active and gives it a head start, rather than mixing everything together and hoping for the best
- Sliding the fire to one side of the oven deck once it collapses creates a hot, radiant baking zone that stays clear of open flame, rather than baking the dough directly over the fire
- Adding a pan of water to the oven to create steam helps the crust develop color and a proper crust structure, something a dry oven wouldn't produce
- Scoring an "X" into the top of each dough ball before baking controls exactly where it expands, rather than letting it crack randomly as it bakes
Wood-Fired Bread Bowls
Tom Jackson
Rated 5.0 stars by 1 users
Category
Appetizer
Cuisine
American
Servings
3
Prep Time
20 minutes
Cook Time
15 minutes
Calories
797
Chef Tom fires up the Clementi Wood Fired Oven and walks us through the process of mixing, proofing, shaping and baking Wood-Fired Bread Bowls.
Ingredients
- 400 g (1 2/3 cup) warm water (110ºF)
-
9 g (3 tsp) Caputo Dry Yeast
- 12 g (1 tbsp) white sugar
-
600 g (4 cups) Antimo Caputo “00” Pizza Flour
-
10 g (1 tbsp) Jacobsen Salt Co. Kosher Sea Salt
-
25 g (2 tbsp) extra virgin olive oil
- 1 egg white
Directions
- Scale the warm water into the bowl of a stand mixer. Add the sugar to the water and stir to dissolve. Sprinkle the Caputo Dry Yeast over the surface of the water. Let stand for a few minutes until the yeast begins to foam. Add the flour to the bowl, then the salt and olive oil.
- Using a dough hook, mix the dough on second speed. When the dough forms a ball and clears the sides of the bowl set a time for 5 minutes.
- After five minutes of mixing, turn the mixer off and transfer the dough to an oiled bowl or container. Cover and let rise at room temperature until doubled in size.
- While the dough is rising, build a fire on the deck of the Clementi Pulcinella Wood Fired Oven. Stack the wood log cabin style 3-4 layers high. Use a fire starter to ignite the wood. Let the wood burn until it collapses onto the deck of the oven. Using the fire grate, slide the fire over to the far left side of the deck. Sweep any debris from the deck. Continue to feed the coal bed small splits of oak or pecan wood, maintaining a temperature reading of 400ºF on the thermometer on the opposite side of the oven.
- When the dough is doubled in size, divide the dough into three equal portions. Form each portion into a tight ball and place on an oiled sheet pan or floured cutting board. Cover with oiled plastic wrap and let double in size. Punch down each dough ball and form into a tight ball once again. Cover once again with the plastic and let rise until nearly doubled in size, but still springy. The dough should bounce back when poked, not collapse.
Place a Lodge 10” Cast Iron Skillet inside the wood fired oven to preheat. It should be located in the center of the deck, just next to the fire grate. This will be your steam pan.
- Whisk the egg white. Brush over the surface of the dough. Using a sharp paring knife, slice and “X” shaped score on top of the dough. Transfer to a floured peel. Transfer to the right side of the wood fired oven.
- Add about 1/2 cup water to the cast iron skillet. Place the door on the oven. Bake for about 7 minutes. Spin the bread bowls to brown evenly. Continue baking until evenly browned and cooked through, about 15 minutes. Remove from the oven and cool to room temperature before slicing.
Recipe Note
Recipe FAQ
Why let the yeast sit until it foams before adding the flour?
Watching for foam on the surface confirms the yeast is active and gives it a head start working before it needs to leaven the full dough. Adding the flour immediately would skip that check.
Why slide the fire to one side of the oven deck once it collapses instead of leaving it centered?
Moving the coals to the side clears a hot, radiant baking zone on the opposite end of the deck that stays away from open flame, letting the bread bowls bake evenly without scorching directly over the fire.
Why add a pan of water to the oven while the bread bakes?
The water creates steam inside the oven, which helps the crust develop color and structure. A dry oven environment wouldn't produce the same crust on its own.
Why score an "X" into the top of each dough ball before baking?
Scoring gives the dough a controlled place to expand as it bakes, rather than letting it crack open randomly wherever the crust is weakest.
How do I know when the bread bowls are actually done baking?
Look for them to be evenly browned all the way around and cooked through in the center, spinning them partway through the roughly 15-minute bake to color evenly on all sides.
How indoor-friendly is this recipe?
4 out of 5 — a home oven at its highest setting, with a pan of water on the bottom rack for steam, can bake this dough well; you'll lose some of the live-fire char a wood oven produces.
Recipe Highlights
Foam-tested yeast: Confirms activity before it's mixed into the dough.
Side-banked fire: Creates a radiant baking zone away from open flame.
Steam-injected oven: Builds crust color and structure.
Scored dough tops: Controls where the bread expands as it bakes.
Recommended Recipes
Nutrition
Nutrition
- Nutrition Serving Size
- 14.83 oz
- per serving
- Calories
- 797
- Carbs
- 153 grams
- Protein
- 21 grams
- Fat
- 8 grams
- Sodium
- 1276 milligrams


