Recipe Note
Recipe FAQ
Why truss a roast?
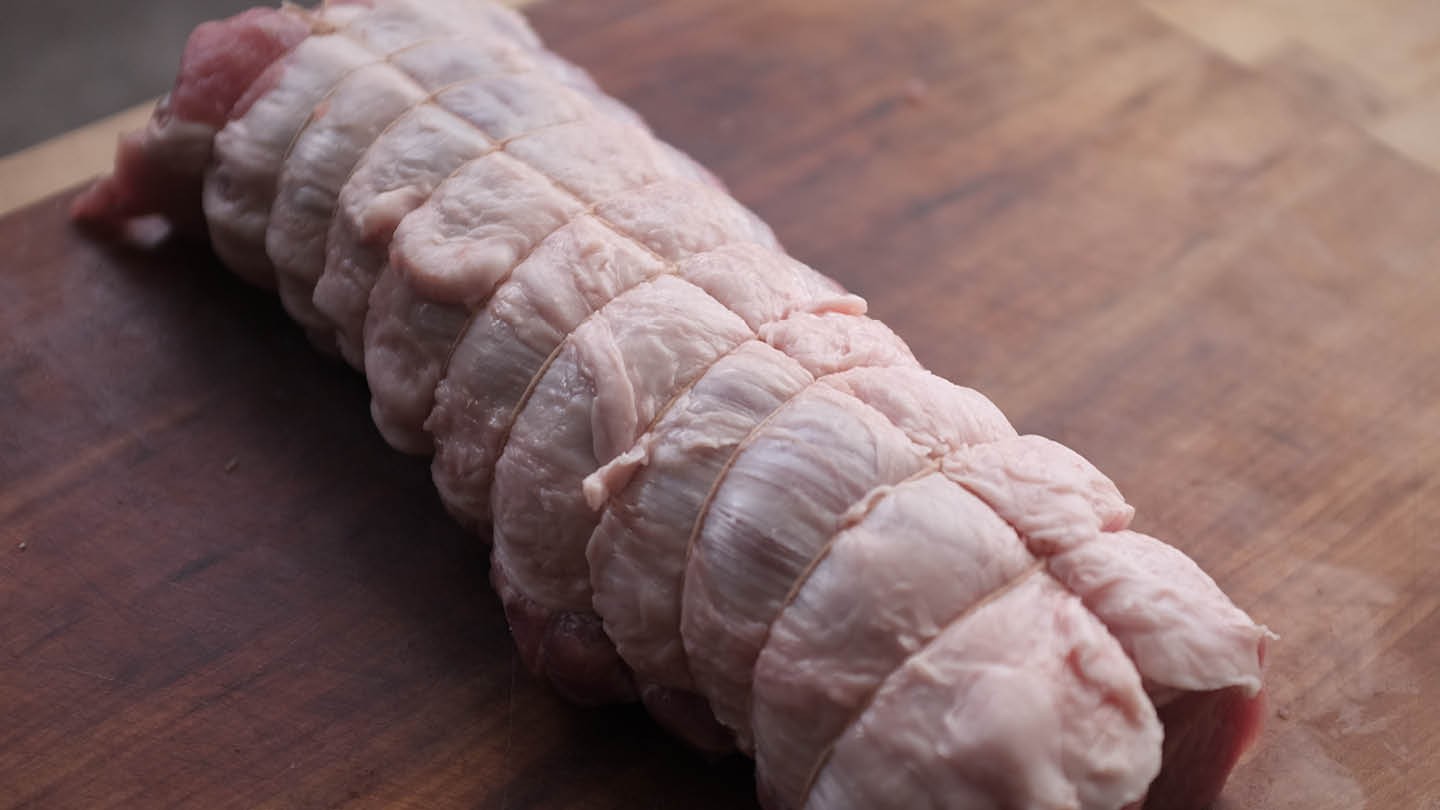
Trussing binds an irregularly shaped piece of meat into a uniform cylinder, which solves two practical cooking problems: even heat exposure across the entire surface, and consistent internal temperature distribution. An untrussed roast with thin and thick sections will have its thin end overcooked before the thick center reaches target temperature. A trussed roast of even diameter cooks at the same rate from end to end. Trussing also holds stuffed and rolled roasts together during cooking, preventing them from unrolling and losing their filling.
What type of twine should I use?
Use only food-safe butcher's twine or kitchen twine — natural cotton or linen, untreated and undyed. Synthetic string, dental floss, or hardware store twine can release chemicals or melt at cooking temperatures. The Beyond Gourmet Cooking Twine linked in this recipe is a food-safe cotton option. For high-heat applications above 400°F, verify the twine is rated for the intended temperature.
How tight should the loops be?
Each loop should be snug enough to hold its shape and compress the roast into a uniform form, but not so tight that it cuts into the meat significantly. If the twine is visibly cutting deep channels into the surface, loosen it slightly. Some surface impression is normal and will not affect the cook. Loops that are too loose will allow the roast to spread back to its original shape during cooking, defeating the purpose of trussing.
How far apart should the loops be spaced?
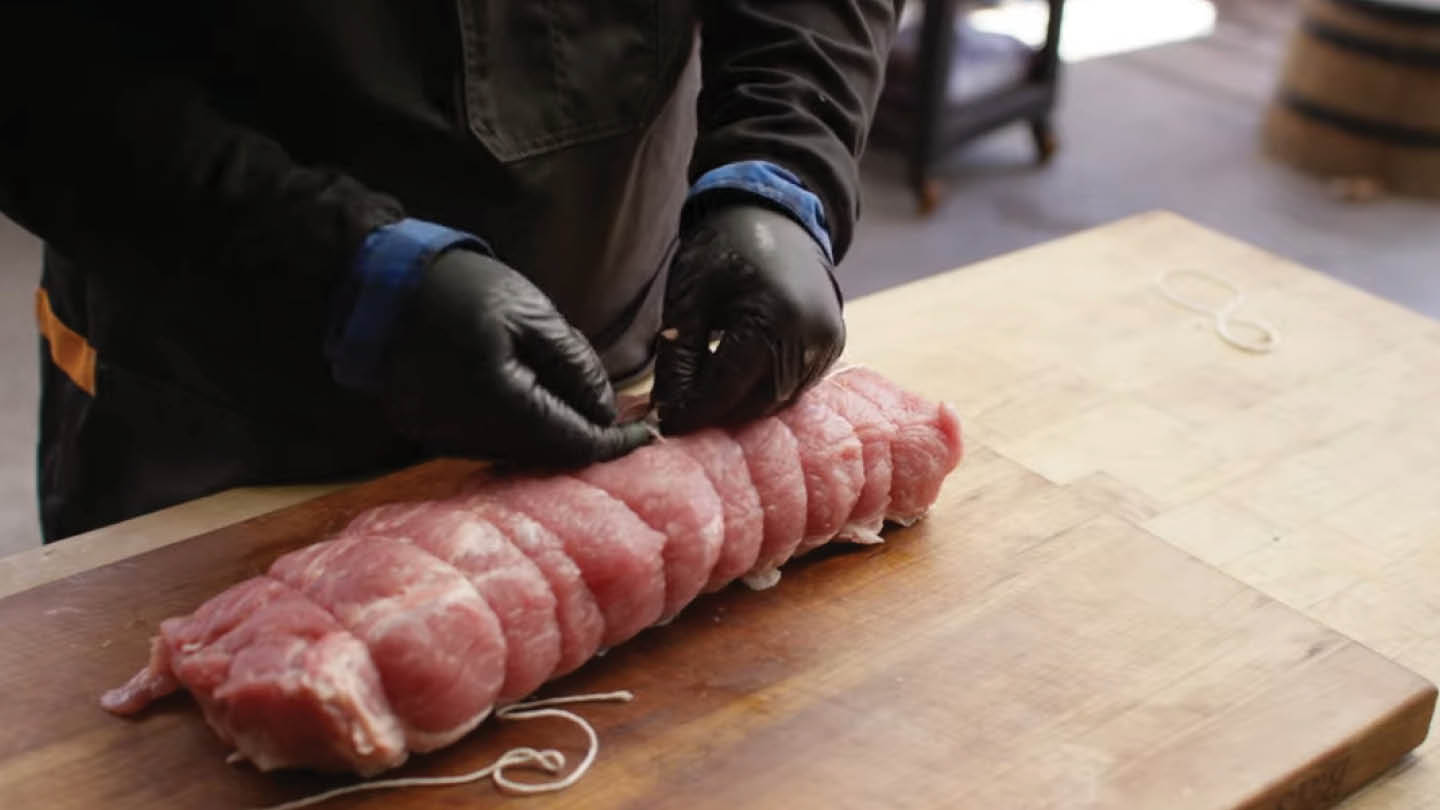
The directions specify approximately one inch apart. For a standard roast, this produces 4–8 loops depending on length — sufficient to maintain shape throughout the cook. For stuffed and rolled roasts, tighter spacing (¾ inch) provides more structural security and prevents the roll from opening at the seams. For simple shape-holding on a solid roast, 1–1.5 inch spacing is sufficient.
When do I remove the twine?
Remove the twine after the roast has rested and before slicing. Cutting through twine with a knife risks pulling pieces into the meat; use kitchen scissors to snip each loop cleanly. Work from one end to the other, snipping each loop and lifting it away before moving to the next. Never attempt to remove twine from a hot roast straight off the grill — let it rest first so the surface has firmed up enough for clean removal.
Can I make this indoors?
5 out of 5 — Perfect for indoor or outdoor cooking. Trussing is done at the prep station before the roast goes anywhere near heat. No equipment beyond a roll of twine and a cutting surface is required.
Recipe Highlights
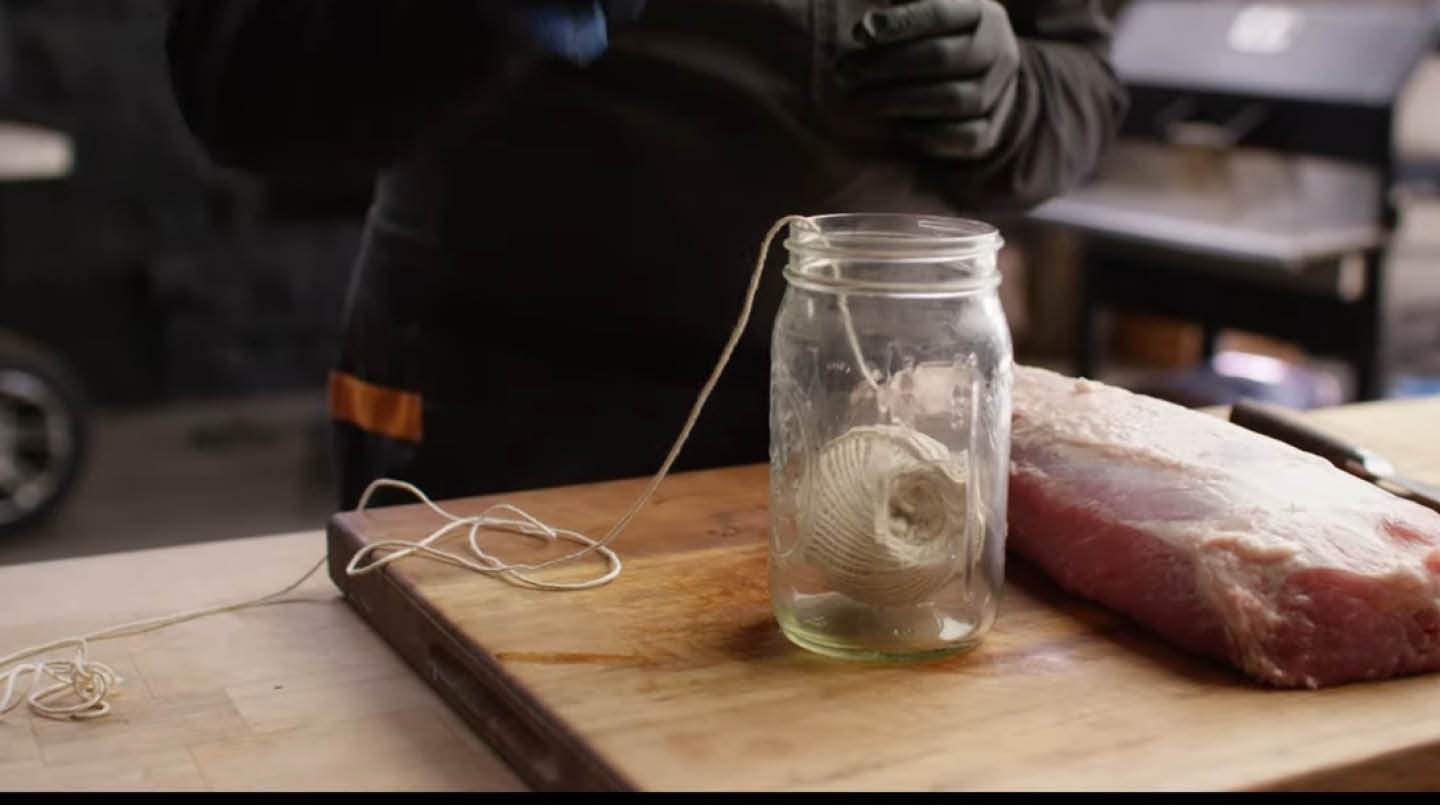
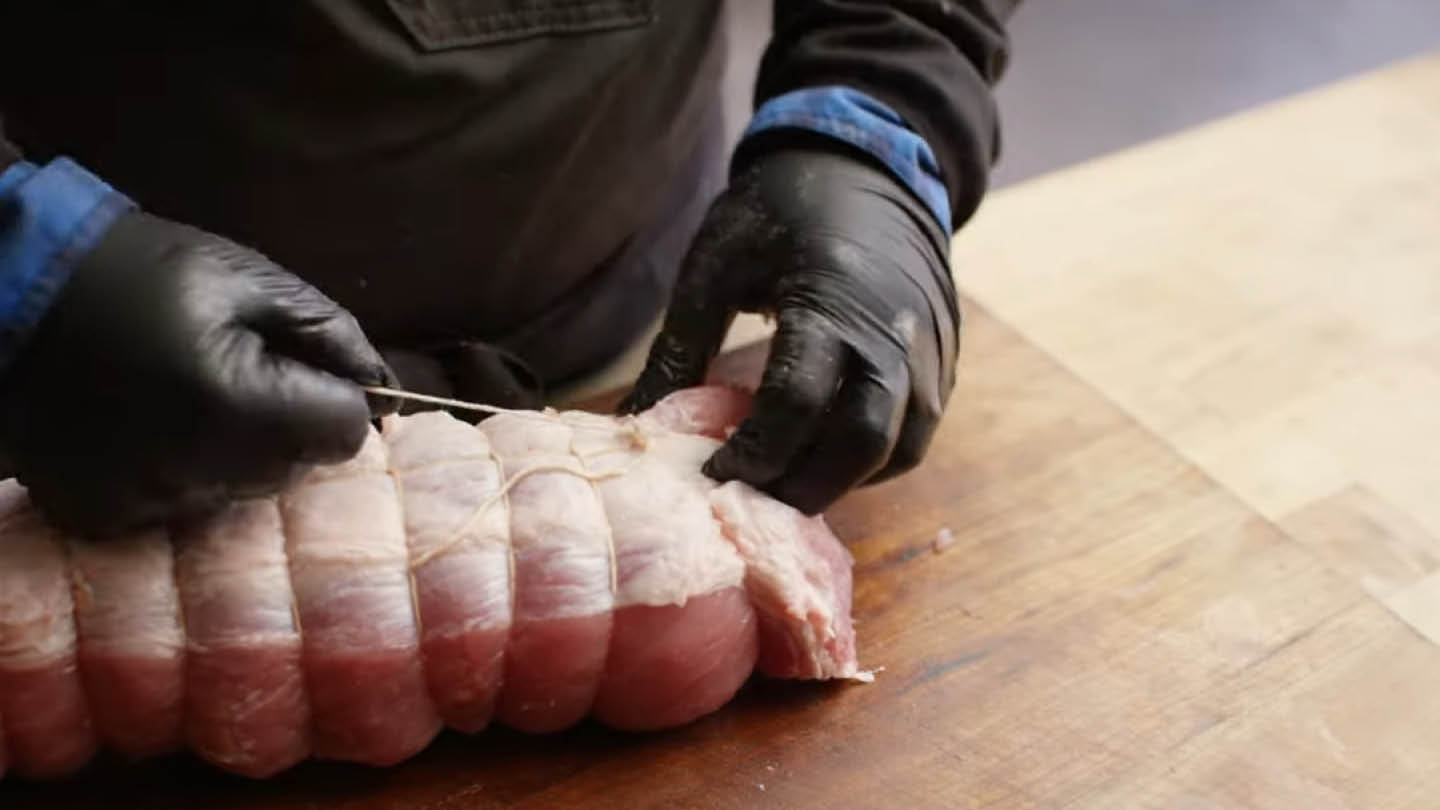
Set the twine roll in a jar before you start: Directions Step 1 specifies this before anything else. With both hands occupied looping and tying, a free-rolling ball of twine becomes a recurring interruption. A jar — any jar tall enough to hold the roll upright — keeps the twine feeding smoothly from the top without moving. Set it up on your dominant side, within arm's reach of the roast.
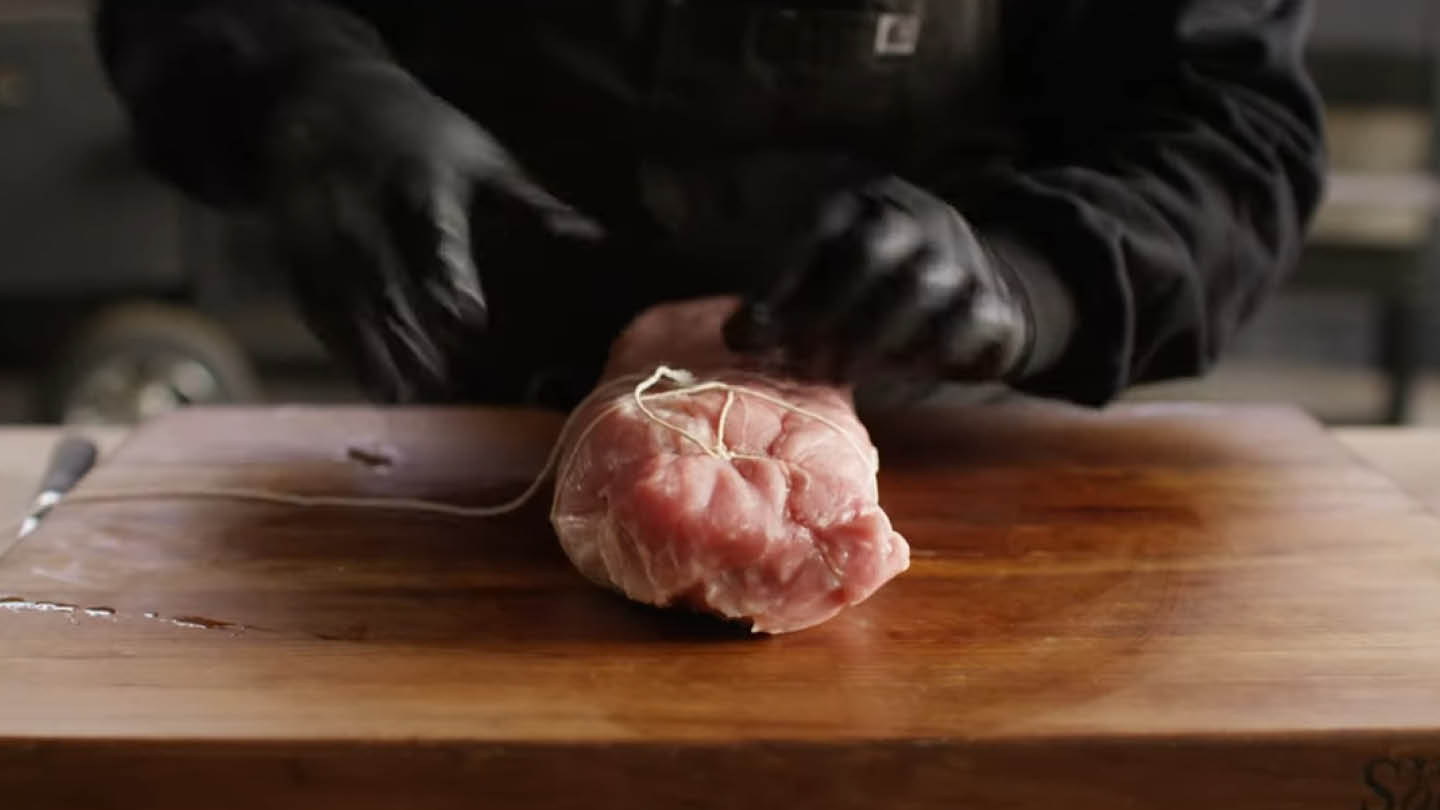
Tie off the first loop at the very end of the roast: Directions Step 2 specifies looping around one end first and tying it off before beginning the body loops. This anchor tie is the structural foundation — all subsequent loops tension against it. If the anchor is placed too far from the end, the last inch or two of the roast will be unconstrained and will spread outward during cooking.
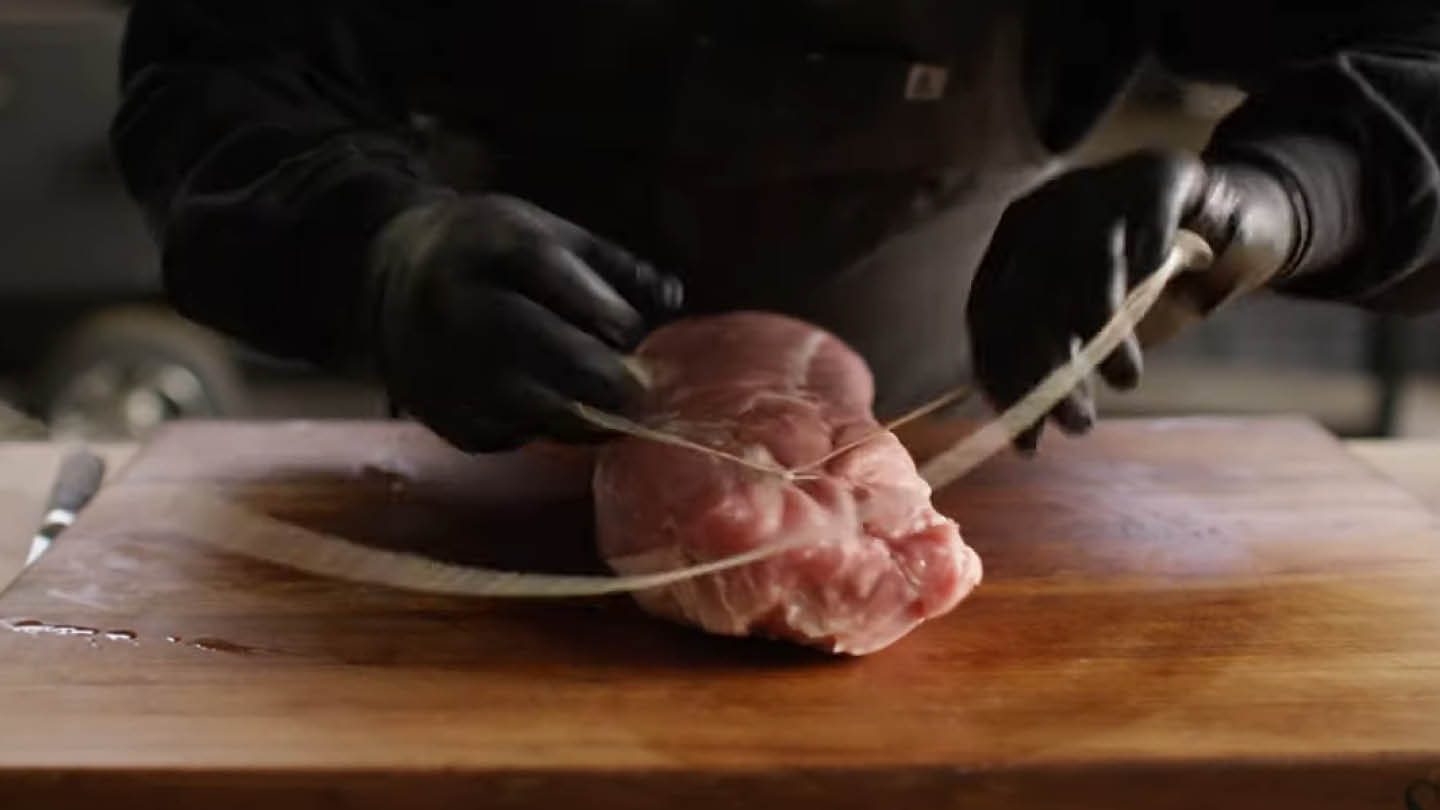
Twist the twine before going under the roast for each loop: Directions Step 3 specifies making a loop and twisting before maneuvering the twine under the roast. The twist creates a locking point that prevents the loop from loosening when you cinch it — without the twist, pulling the loop tight simply slides the twine rather than tightening the loop. Twist first, then pull down and under, then cinch.
Weave back through the existing loops on the return pass — don't cut the twine: Directions Step 4 specifies using the same continuous piece of twine to weave alternately in and out of each loop on the return pass, without cutting. This weave-back ties all the individual loops together into a single interconnected structure that tightens as a unit. Cutting and tying individual loops at each interval produces a series of independent knots that can loosen separately during the cook.
Recommended Recipes