Recipe Note
Recipe FAQ
Why inject the flat muscle and not the point?
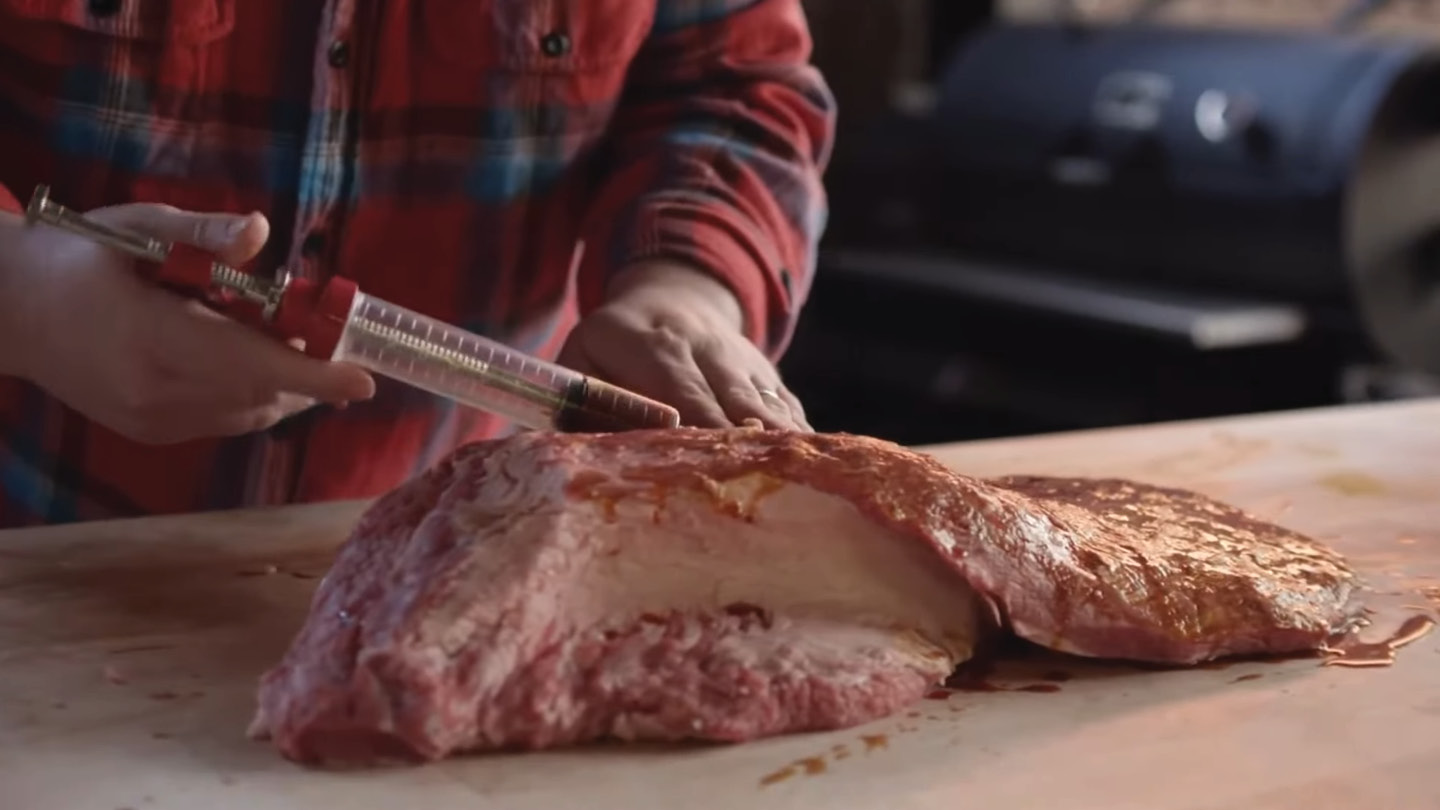
The point muscle contains significantly more intramuscular fat than the flat — it self-bastes during the long smoke and naturally stays moist. The flat is a leaner, larger muscle that can dry out during a 6–7 hour smoke at 250°F. The Butcher BBQ Prime Dust injection — a beef flavor blend with phosphates — distributes throughout the flat's muscle fibers, helping retain moisture from the inside during the smoke phase. The grid pattern injection in Direction Step 3 ensures even distribution rather than concentrated pockets of injection liquid.
What can I substitute for Butcher BBQ Prime Dust if it's out of stock?
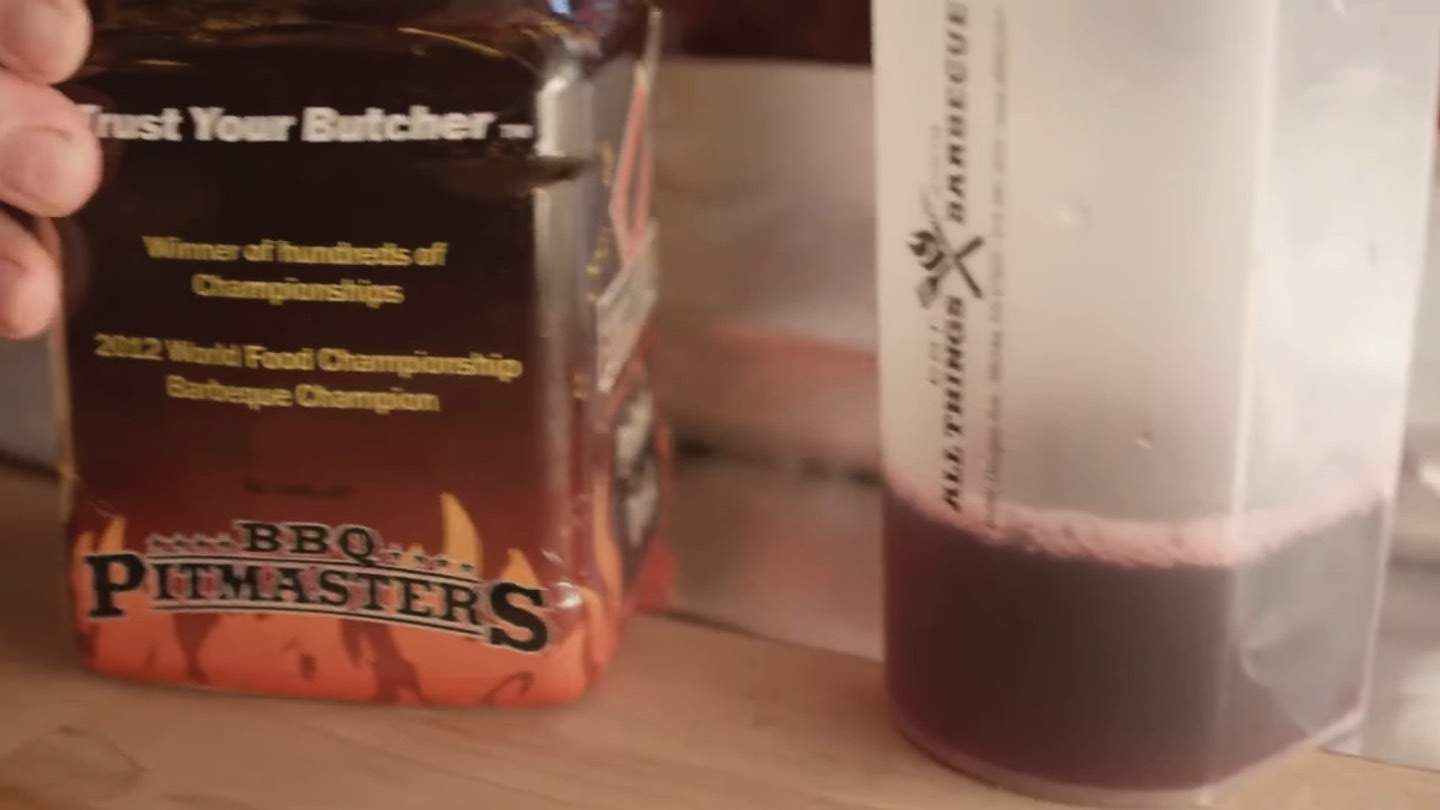
Butcher BBQ Prime Dust is a beef flavor enhancer and phosphate blend designed for injection. If unavailable, combine 1 tsp beef bouillon powder (low sodium), 1/4 tsp MSG, and 1/4 tsp fine salt per 1/4 cup water as a close functional substitute. For the braising liquid, substitute 1 tbsp beef demi-glace or concentrated beef stock reduction for the Prime Dust component. Any beef-forward injection blend from the ATBBQ catalog will work — the phosphates in the original formula help with moisture retention but aren't strictly required.
Why use Cattleman's Grill California Tri-Tip Seasoning on a brisket?
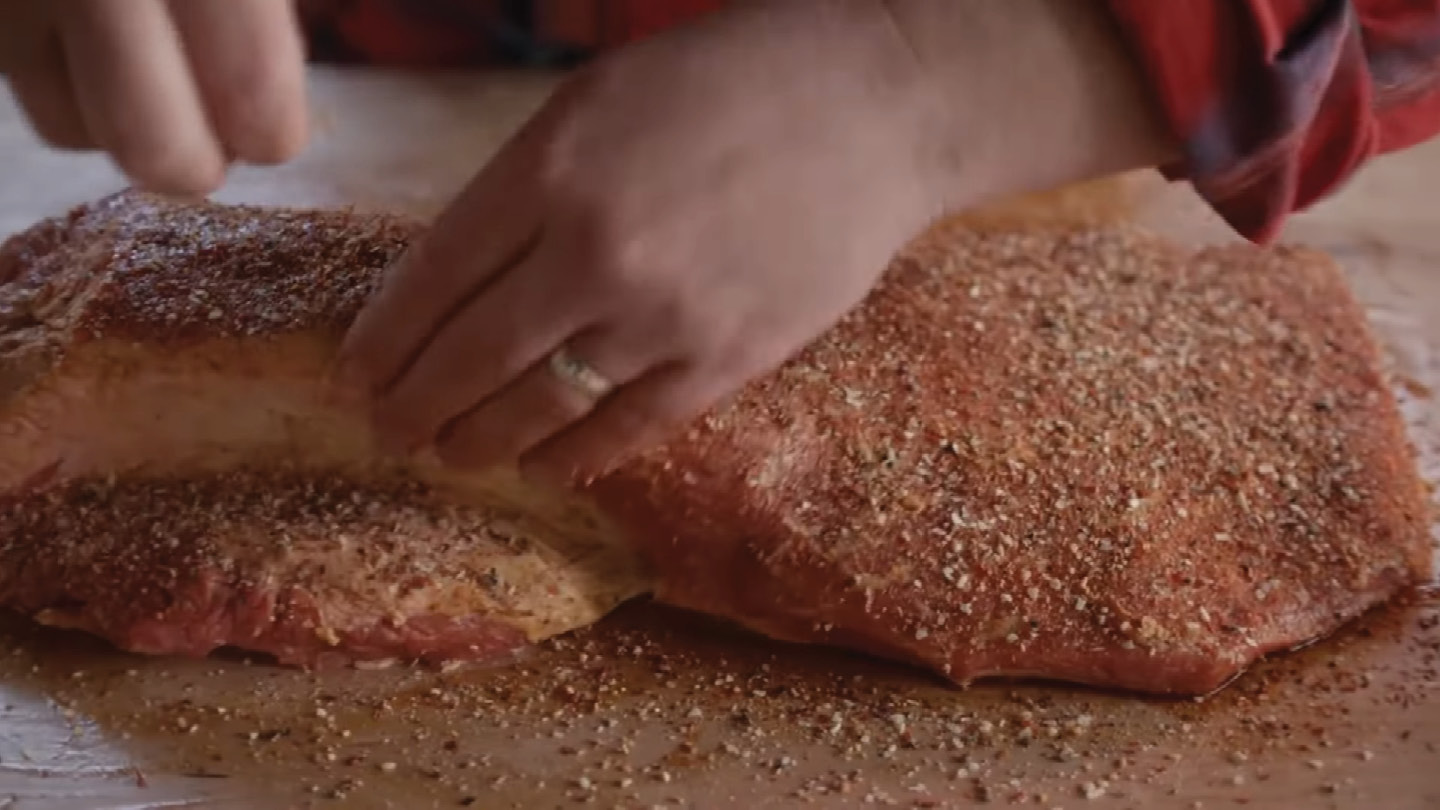
The traditional Texas brisket seasoning is coarse salt and black pepper. The California Tri-Tip blend adds garlic, herbs, and citrus notes that shift the flavor profile toward a more holiday-appropriate savory character — complementary to roasted vegetables and red wine braising liquid rather than the bold, single-note pepper profile of Texas-style brisket. It's a deliberate departure designed to make this brisket feel at home on a holiday table alongside potatoes, carrots, and wine jus.
How do I know when the bark is ready to wrap?
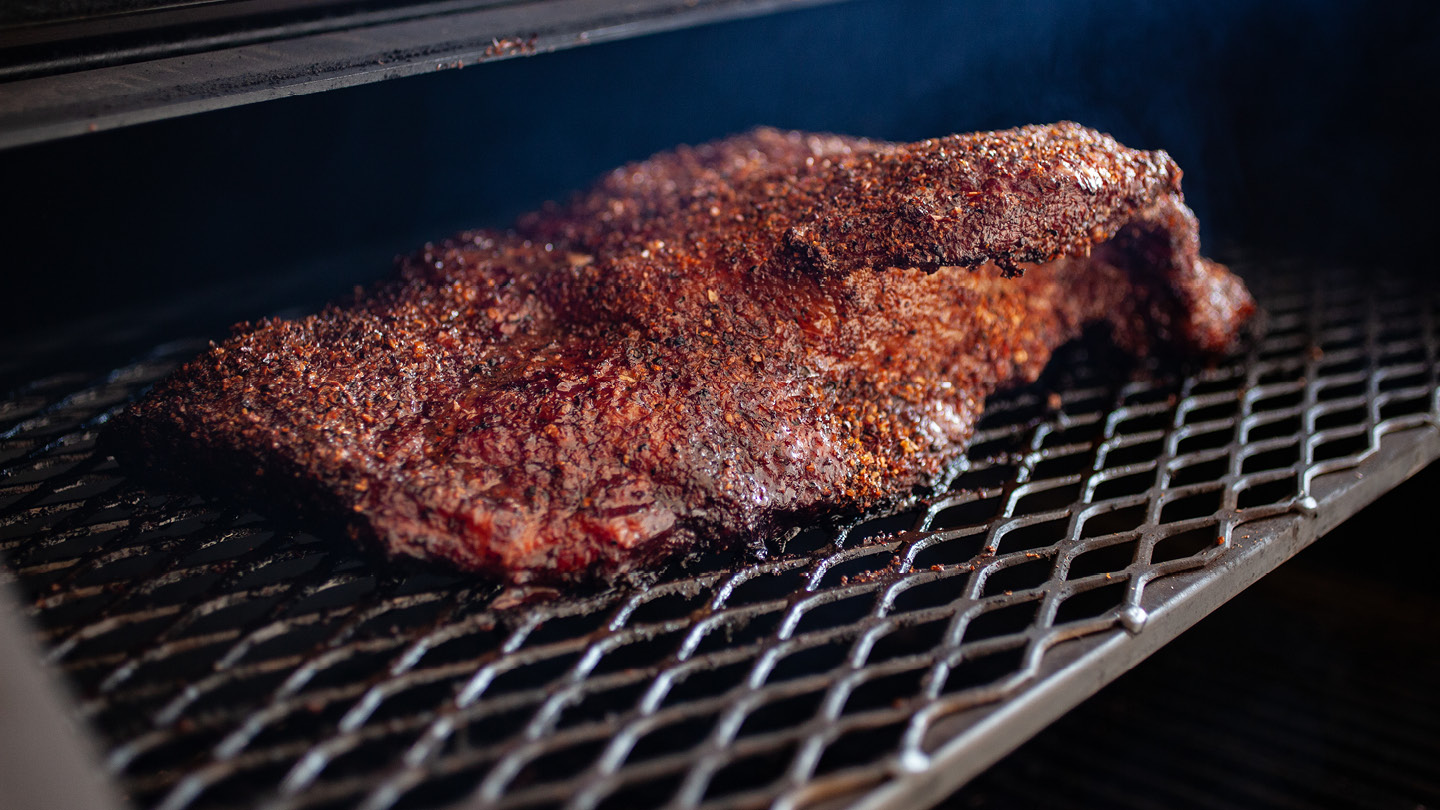
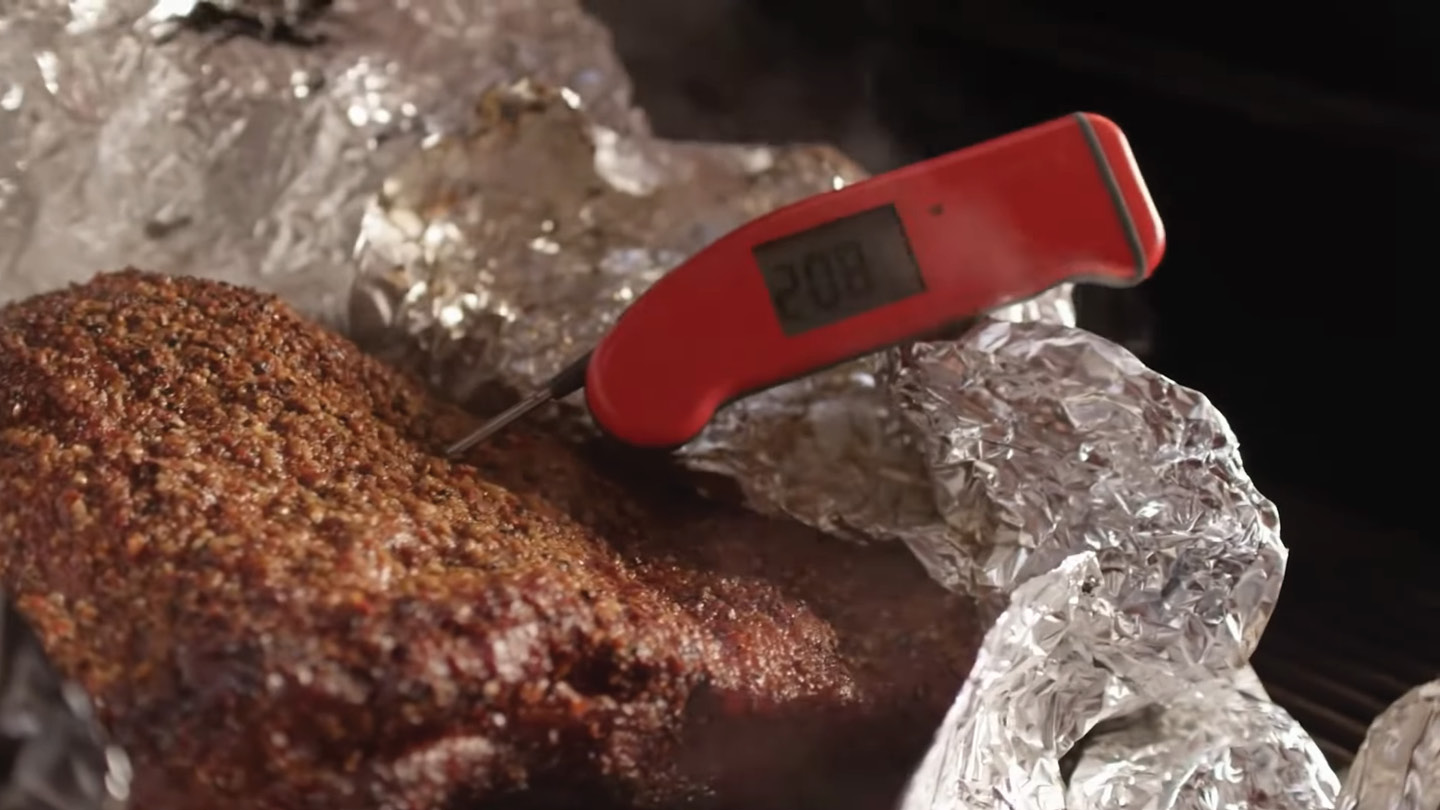
Direction Step 5 specifies "your desired color on the surface, about six to seven hours." The visual target is a deep mahogany bark — reddish-brown to near-black on the exterior, dry and firm to the touch, not tacky or smearable. The internal temperature will likely be around 160°F at this point. If the surface is still somewhat soft or tacky, give it another 30–45 minutes before wrapping. An unset bark will dissolve into the braising liquid rather than remaining as a distinct bark layer on the finished brisket.
Why rest for at least 30 minutes before slicing?
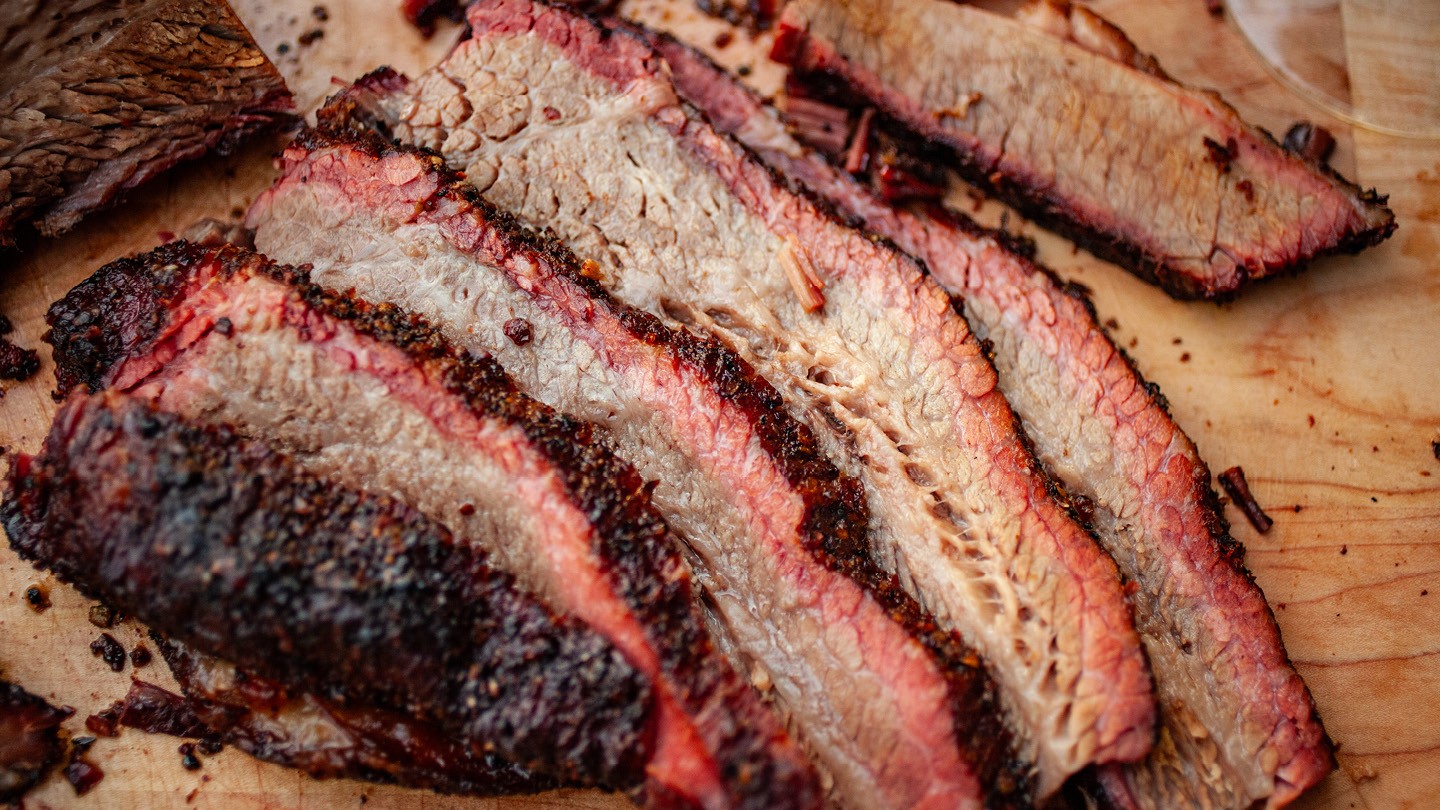
Direction Step 10 specifies a minimum 30-minute rest. At 200–210°F internal, the brisket's juices are actively moving from the center toward the exterior. Slicing immediately causes significant juice loss onto the cutting board rather than staying in the meat. A 30-minute rest (or longer in a warm cooler) allows the juices to equilibrate throughout the brisket and the proteins to relax from their contracted state during the cook. For a holiday meal where the brisket needs to hold while other dishes are prepared, a 1–2 hour cooler rest produces noticeably juicier slices.
Can I make this indoors?
1 out of 5 — Best on the grill. An oven at 275°F with the injection and the vegetable braise wrap produces tender, flavorful braised brisket. What you lose is the 6–7 hour smoke phase — the mahogany bark, the deep smoke penetration, and the smoke compounds that infuse into the red wine braising liquid during the wrap phase. The result would be good wine-braised brisket; a fundamentally different dish without the pellet grill smoke.
Recipe Highlights
Inject the flat in a grid pattern — spacing matters: Direction Step 3 specifies injecting in a grid pattern. The flat muscle is large (typically 6–8 inches wide and 12–14 inches long); widely spaced injections leave large areas between injection points that receive no benefit. Space injection points approximately 1 inch apart in both directions and inject at multiple depths per entry point (angling the needle slightly with each plunge) to distribute the injection evenly throughout the full thickness of the muscle.
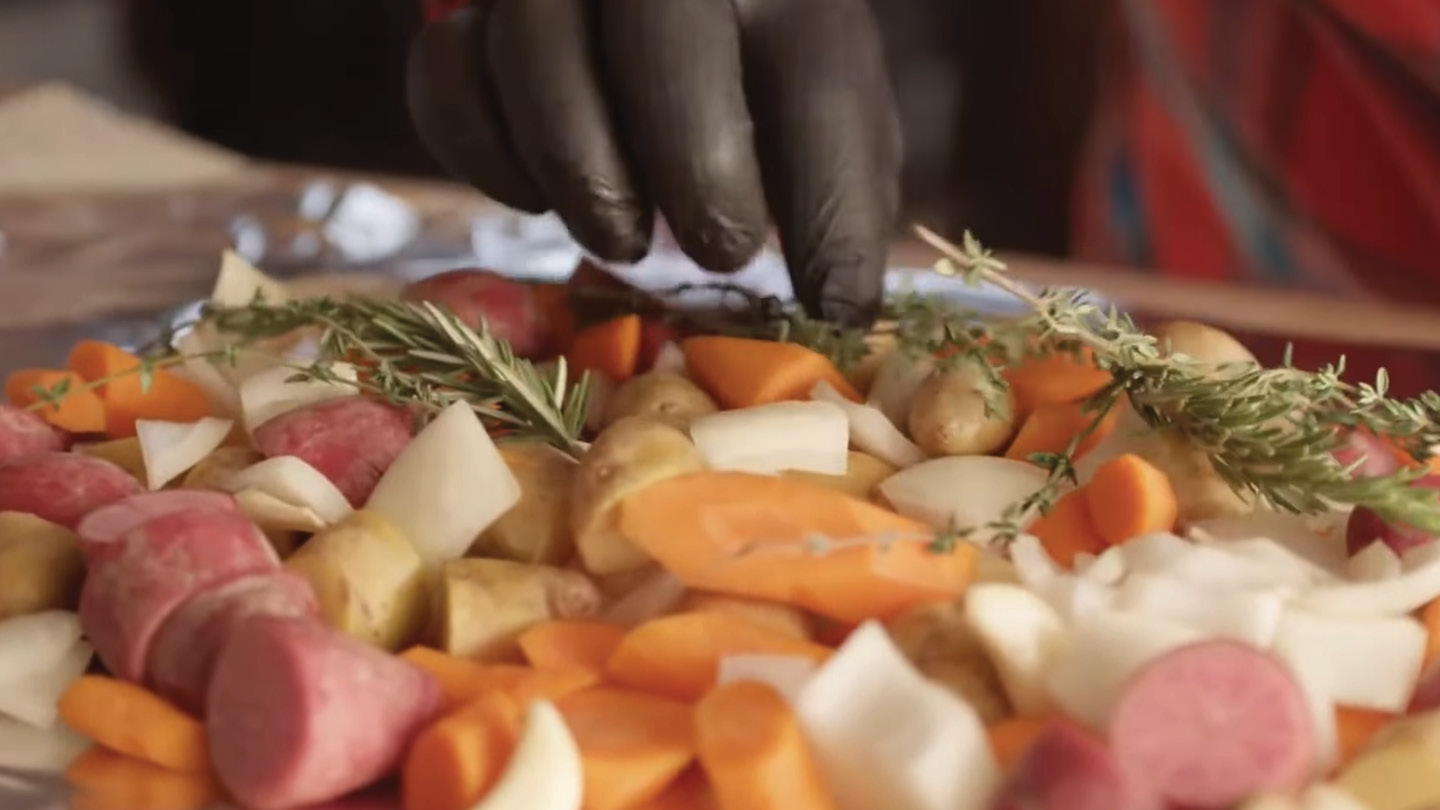
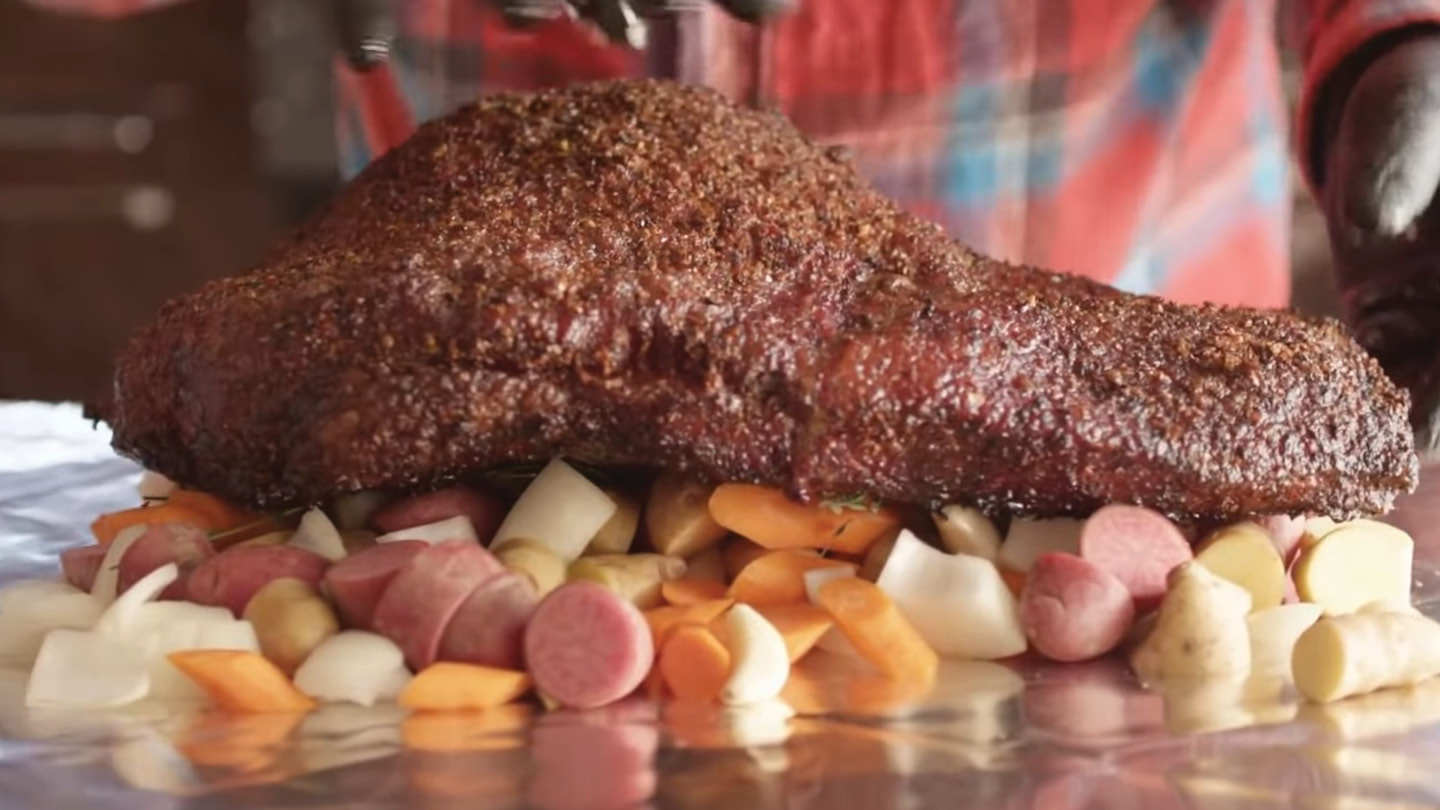
Use two sheets of foil perpendicular to each other — not parallel: Direction Step 8 specifies two long sheets laid perpendicular. This cross-sheet orientation creates overlapping seals on all four sides of the wrap rather than just the two ends. A parallel two-sheet arrangement reinforces only the top-bottom seal; the perpendicular arrangement provides structural integrity against puncture from bone ends and prevents the red wine braising liquid from leaking during the 2-hour braise.
Test doneness with a probe — not temperature alone: Direction Step 9 specifies the brisket should offer "almost no resistance when probed with an instant read thermometer." The temperature range (200–210°F) is a guideline; the probe feel is the definitive indicator. A brisket at 203°F that still has slight resistance needs more time; a brisket at 198°F that probes like warm butter is done. The collagen-to-gelatin conversion that makes brisket tender is time-and-temperature dependent — let the probe, not the thermometer reading, make the final call.
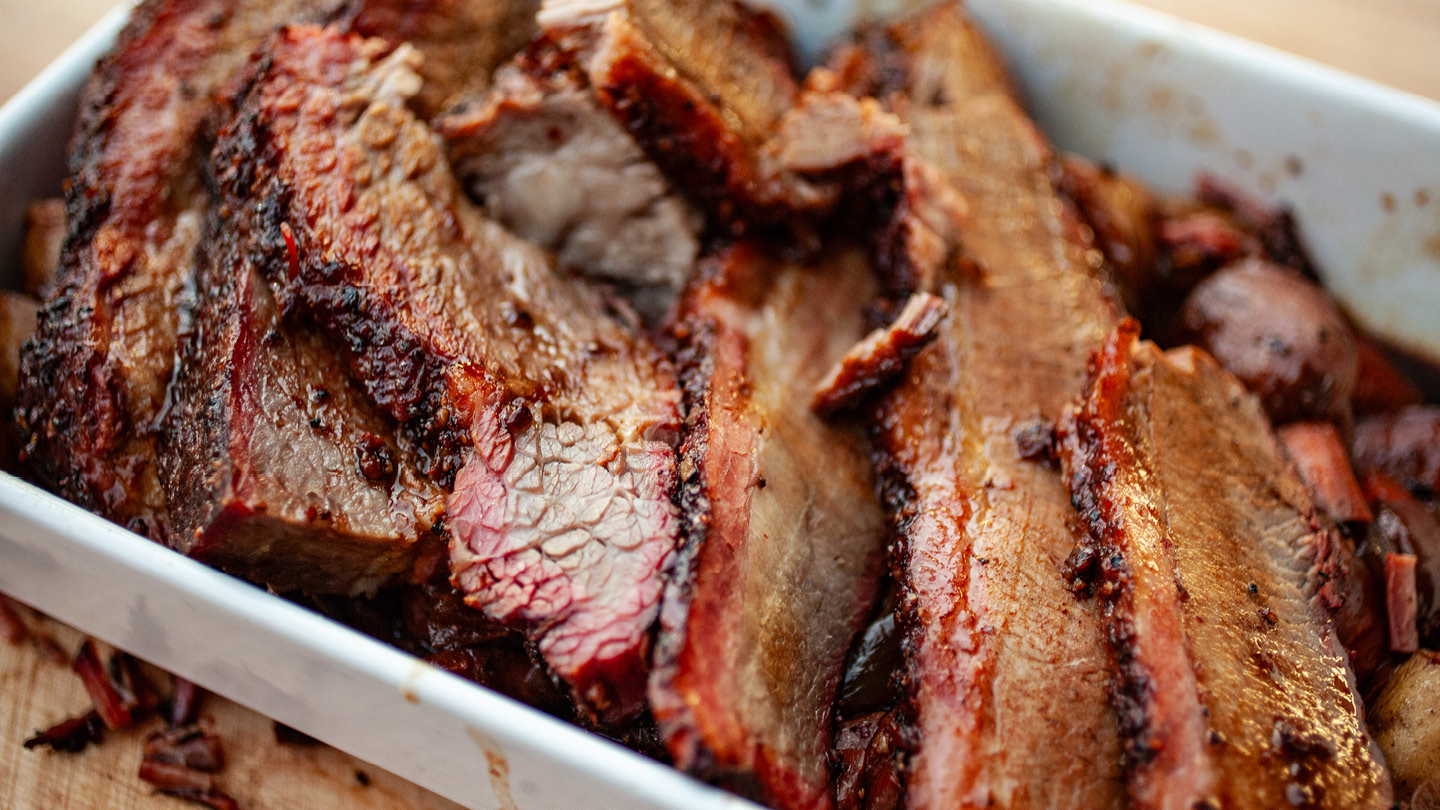
Strain the braising liquid before serving — don't skip this: Direction Step 10 strains the liquid from the vegetables before serving. The unstrained liquid contains rendered fat that will separate visibly and float on top of the jus when served. Straining removes the solid herb and vegetable fragments; a brief skim of the fat after straining produces a clear, glossy jus that looks as impressive as it tastes. A fat separator or a few minutes of resting the strained liquid allows the fat to rise for easy skimming.
Recommended Recipes